When tracing a pattern use freezer paper. You can still see through it to easily trace and it’s sturdy. You can also use your iron on a low setting to press it to your fabric instead of pinning it to cut out your pieces. You can use the iron on each piece up to 10 times.
Sewing Tip #8
Use a safety pin to pull a drawstring through your project. Simply pin the safety pin to your drawstring and use the pin to pull it through the drawstring slot in your project. Do you have a hard time keeping track of your safety pins? Put a couple with your pins in your pin cushion so that you always have a few on hand for tasks like this!
Sewing Tip #7
Today's tip is simple. Use a lint roller to remove any lint, fuzzies, or pet hair that may have collected on your quilts! Sending your quilt to a show to be displayed? Make it look extra nice by giving it a lint roller treatment! You should be able to find lint rollers at the dollar store, Target, or Amazon.
Sewing Tip #6
Consider cutting on the weekends so that you can just sit down and enjoy sewing after a busy day at work.
Bonus tip! We highly recommend the Martelli Rotary cutter pictured above. The cutter with the blue handed is specifically designed for lefties while the red handled cutter is for righties. You should be able to purchase these directly from Matelli Notions.
Sewing Tip #5
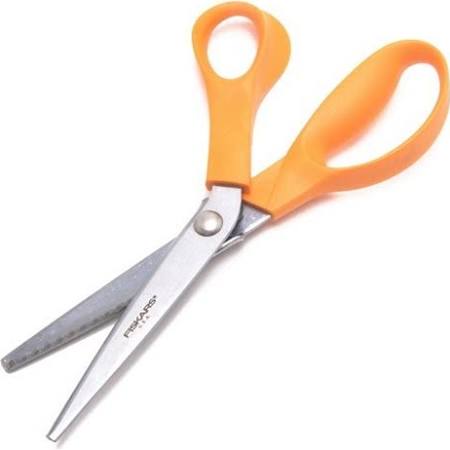
Instead of clipping your seam on a curve, use pinking shears to reduce the bulk of the seam on a curve. Be careful not to clip your actual seam! You should be able to find a decent pair of pinking shears at your local fabric store, or hunt around at your favorite second hand shop!
Sewing Tip #4
Use 1/4 inch Pellon EZ Steam a Seam to finish of a seam without sewing. One perfect use for this is using it to seal your opening left for turning when you are almost finished with a purse!
Sewing Tip #3
Use Heat and Bond New Sew to create a tag for your quilt! This permanent no sew solution to quilt tags is quick and easy with a homemade flair. I recommend using 7/8" heat and bond strips. Cut two short strips (about 2") and iron them next to each other on to your tag fabric. Use a permanent marker to write your tag message. Cut tag to the desired size and shape. Remove the Heat and Bond paper and iron on to your quilt! You should be able to find heat and bond at your local fabric store or at Walmart.
Sewing Tip #2
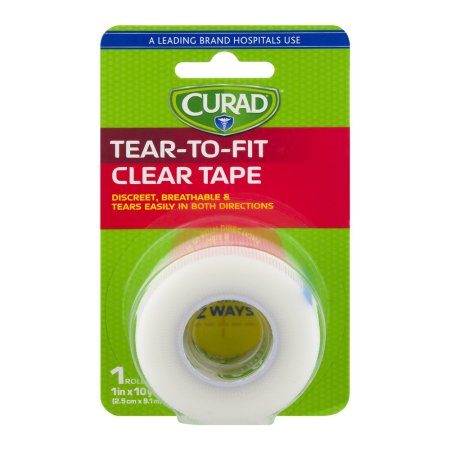
Use some Curad Tear-to-Fit Clear Tape to help prevent your rulers from sliding. It’s clear so you can see thru the ruler and is easy to remove with no residue. You can find it at your local Walmart.
Sewing Tip #1
Tape two pencils together to create a writing tool that will allow you to add a seam allowance or increase the size of your project. Trace along your original pattern with one pencil and the other one will add a line for your new pattern size or seam allowance!
Happy Squirrel Quilts at the Rocky Mountain Quilt Festival 2017!
Thank you to everyone who stopped by our booth at the Rocky Mountain Quilts Festival in Loveland, Colorado! We hope to see you all at the Quilt-A-Fair at the Boulder County Fair Grounds September 22-23, 2017.
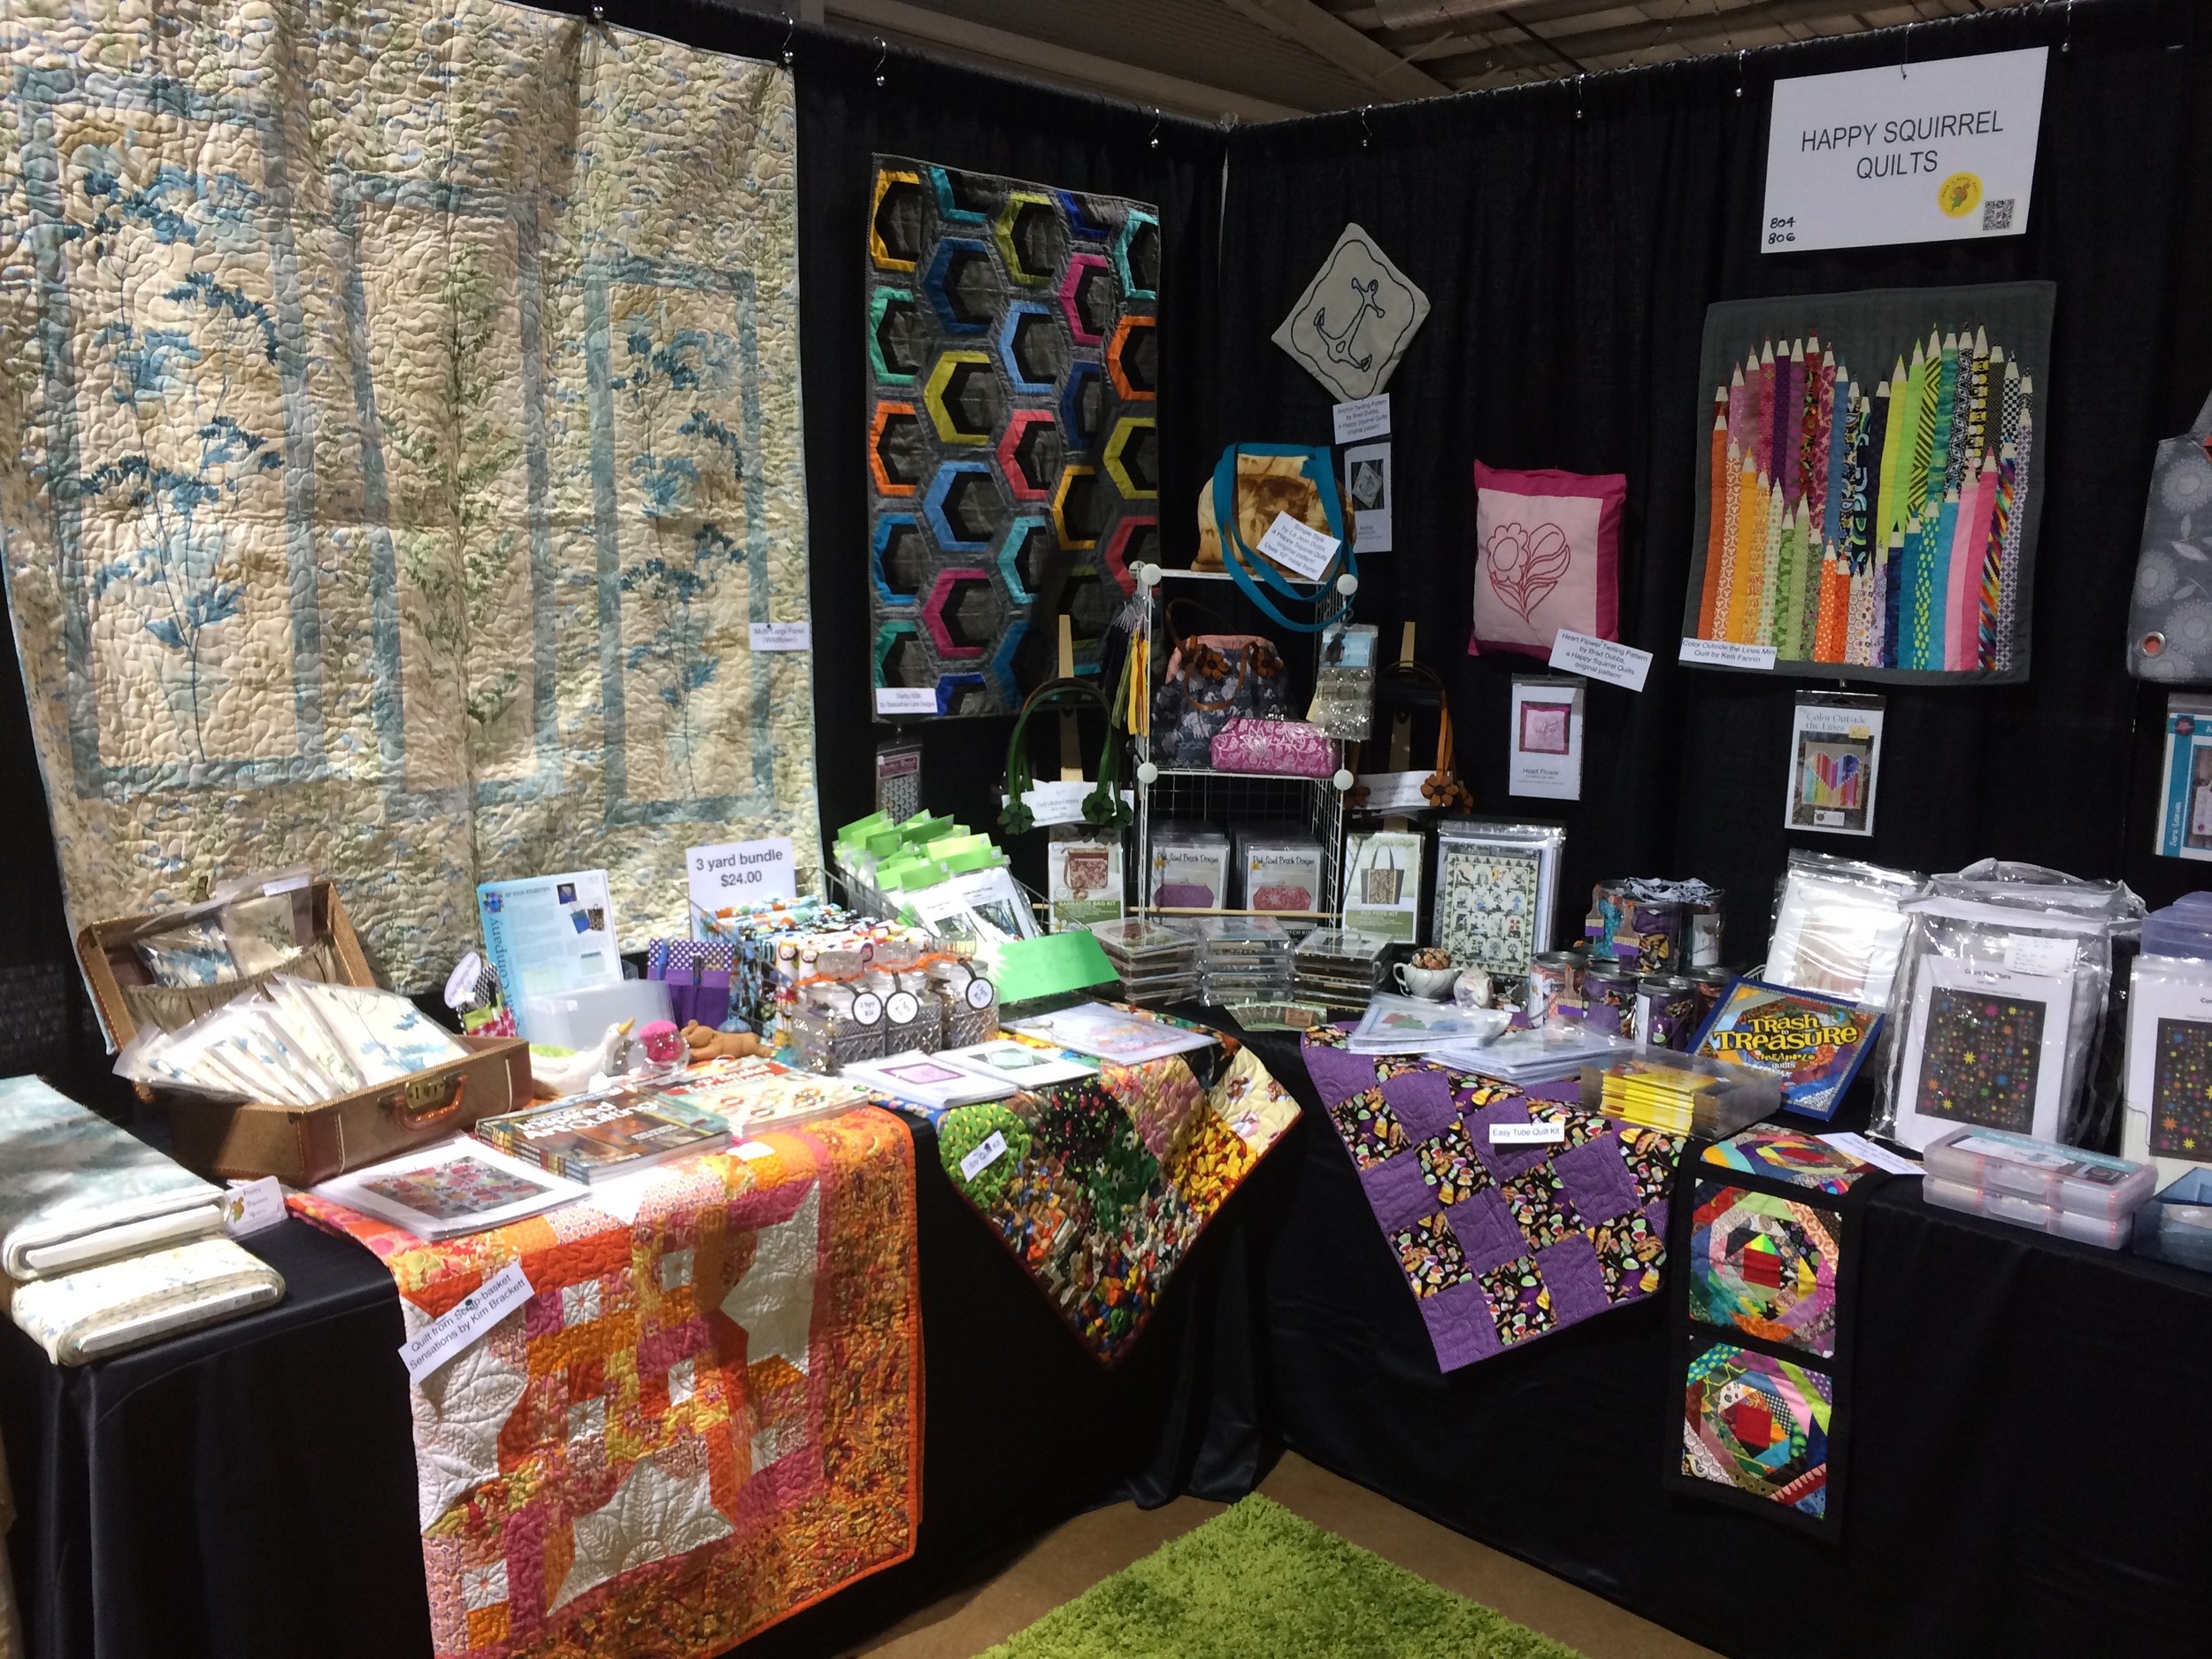
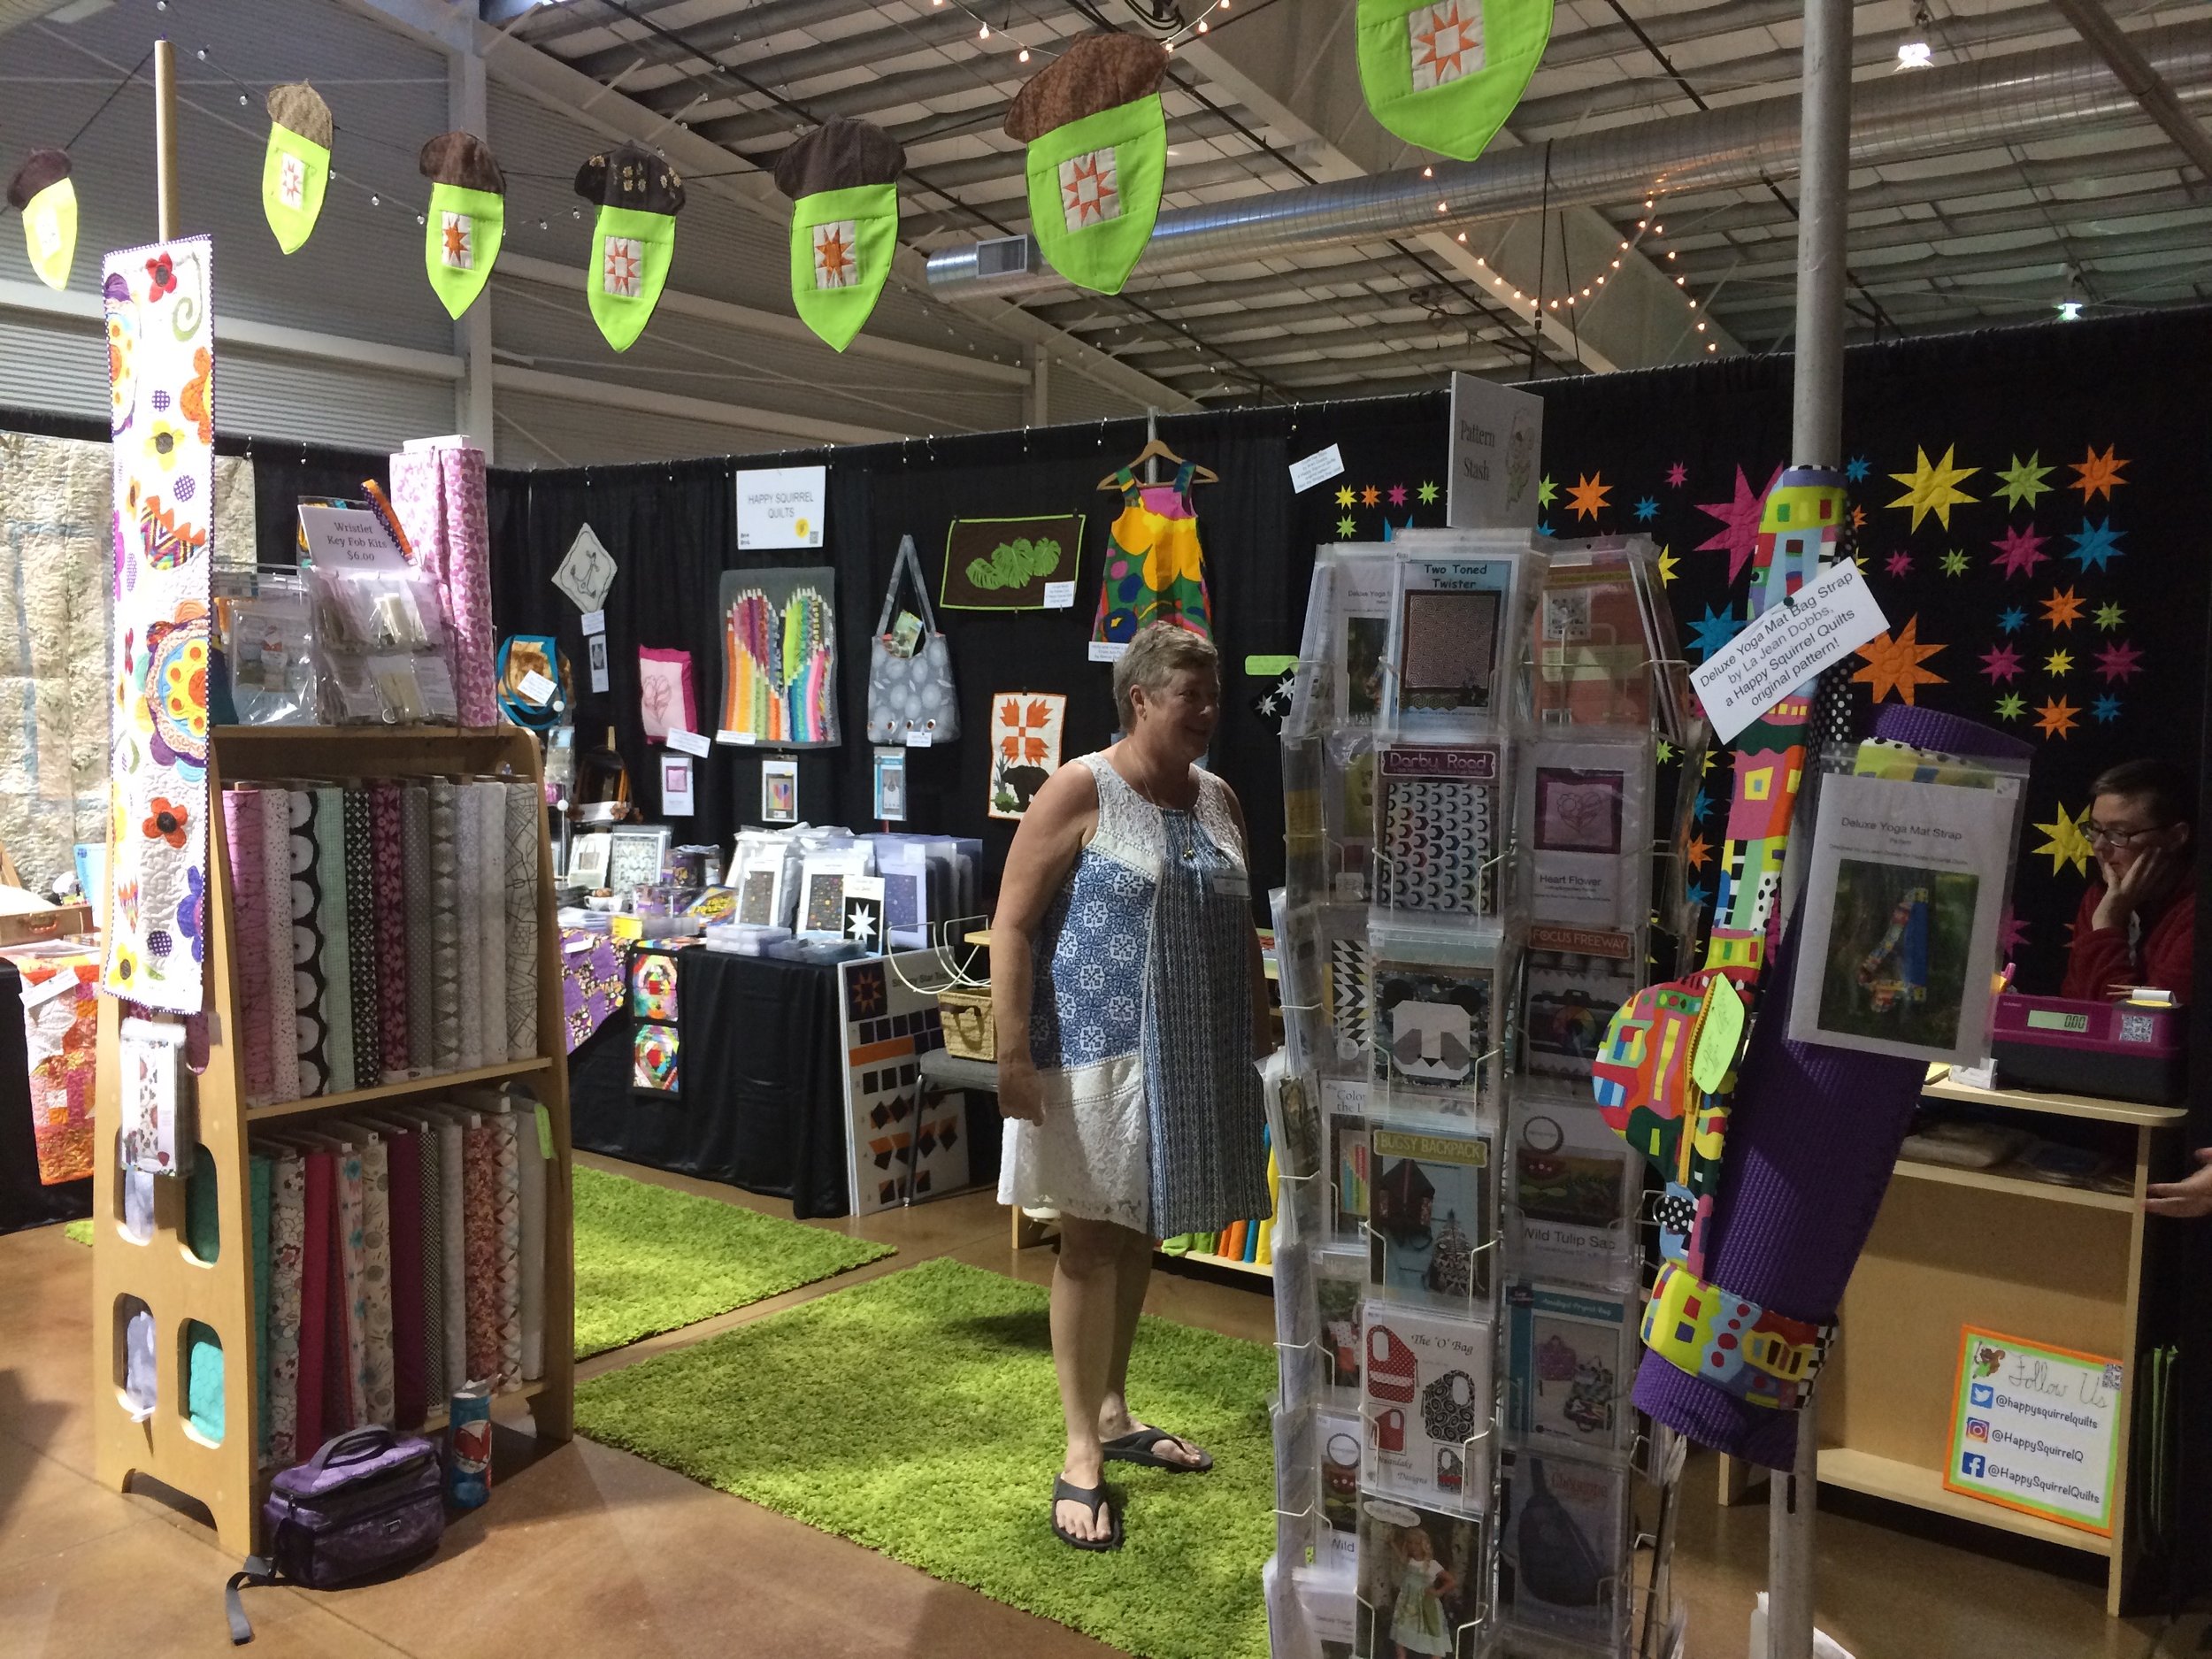
Happy Squirrel Quilts booth 804/806 at the Rocky Mountain Quilt Festival August 17-19, 2017.
Simple Style purse pattern and 10" metal frame show special!
Andrea and Kira opening day!
Andrea ready for Day 2!
Kira and the Happy Squirrel ready to help you check out! Check out our new Count the Stars pattern by Brad Dobbs!
La Jean getting ready on set up day!
Kira giving us a tutorial on our new pink register! Check out our new Count the Stars pattern by Brad Dobbs!
One of a kind rusted fabrics!
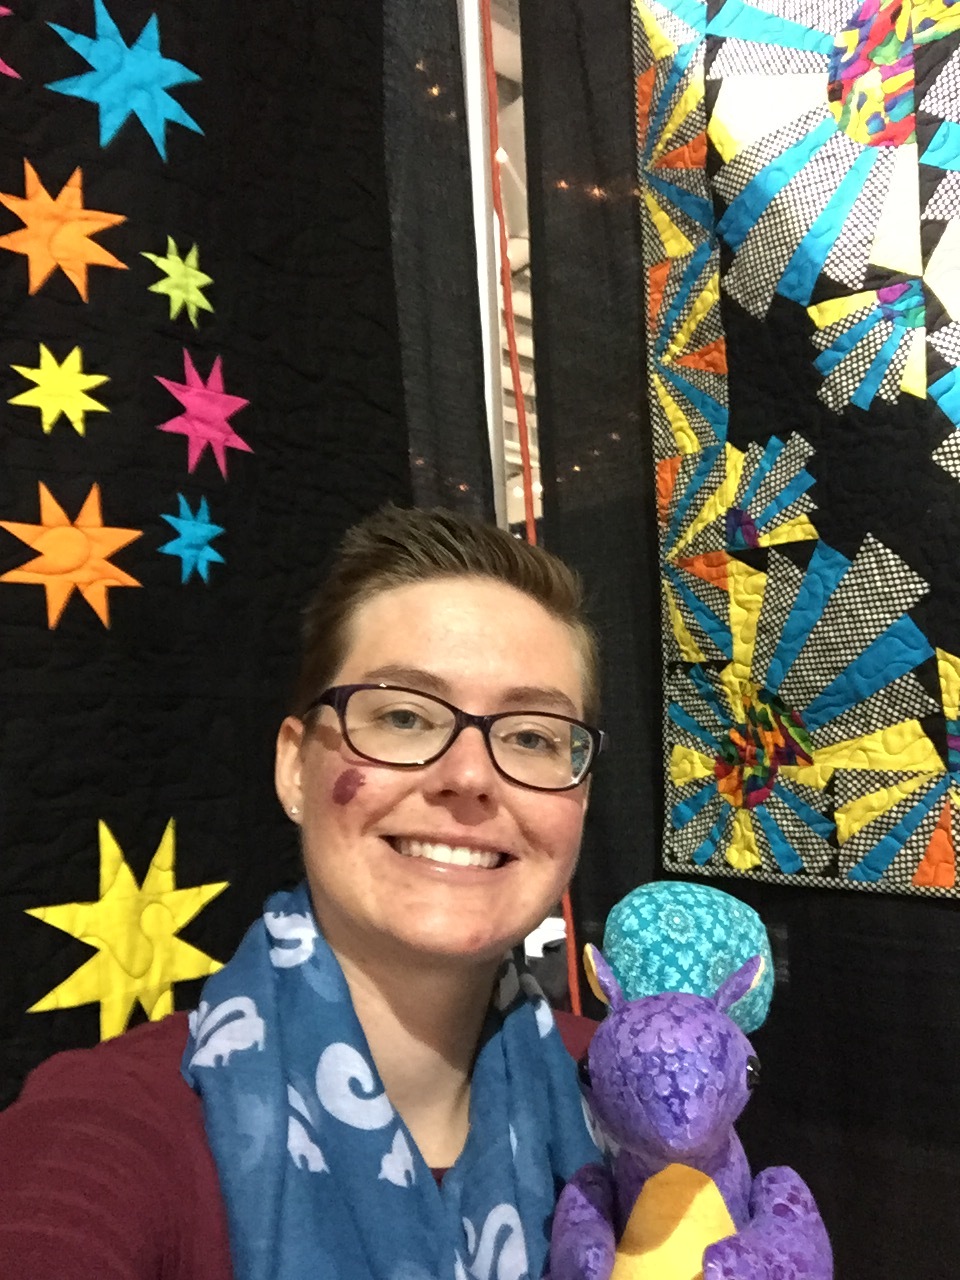
Kira with the Happy Squirrel! Look out for our Happy Squirrel selfie social media giveaways!
Set up day!
Color Outside the Lines was a show favorite!
Happy Squirrel Quilts Booth
All ready! Set up day with Brad, Andrea, La Jean, and Kira! Check out our new Count the Stars pattern by Brad Dobbs!
All ready! Set up day with Andrea, La Jean, Brad, and Kira!
Strippy Stars Tool
Pineapple Tool
Happy Squirrel Quilts August 2017 Newsletter
September Quilt Show - Quilt-A-Fair
Join us for our upcoming show on September 22 and 23, 2017! We will be at Quilt-a-Fair in Longmont, CO at the Boulder County Fairgrounds. Shopping hours will be Friday & Saturday 9am-5pm.
Hula Hoop Rug
For the HomeThis easy and fun hula hoop rug is perfect for a family craft day, a party, or a relaxing afternoon! My sister Kira put together an amazing arts, crafts, and taco event as part of our wedding weekend. This hula hoop project was just one of many that were included at the party. All you need is a hula hoop and strips of fabric approximately 2 inches wide. To set up your hula hoop loom, tie one end of a strip of fabric to the hula hoop and tie the other end to the other side of the hula hoop. Continue around the hoop so that you create a spoke like loom as pictured in the final picture of this post. Now you are ready to weave! Weave strips of fabric in and out starting from the center! This part was incredibly easy and everyone was able to participate! Don't forget to tie the ends off when you remove your finished rug. Our completed rug is a perfect reminder of a fun event from our wedding weekend. We keep it at the entrance of our spare bedroom for all to see.
Connect with Happy Squirrel Quilts!
Connect with Happy Squirrel Quilts on Social Media! Follow the links at the bottom of our website to start following us!
Elephant Appliqué Pillow
AppliquéI made this small Elephant Appliqué Pillow for a Christmas gift in 2016. I created the elephant pattern from a coloring book image that had very thick lines. After printing the image, I made a pattern that included the dark outline. I used this for the dark blue fabric on the elephant. After that I trimmed the line off the original elephant to create my pattern for the cream fabric used in the elephant. I then appliquéd these two pieces onto a background of faded blue fabric. I used a Featherweight machine to create this project. A free motion foot was used for the appliqué part of the project. The pillow is only about 12 inches square and is stuffed with Poly-Fil.
Rocky Mountain Quilt Festival
Quilt ShowsHappy Squirrel Quilts is excited to announce that we will be at Rocky Mountain Quilt Festival in Loveland Colorado from August 17 - 19, 2017 at "The Ranch" 5280 Arena Circle, Loveland CO 80538! Shopping hours will be Thursday & Friday 9am-5pm and Saturday 9am - 4pm. We hope to see you there!
Grab a Basket!
Éowyn
ÉowynÉowyn working hard as our quilt tester!
I use a cat trap (box) to keep Éowyn from "helping" me cut fabric. What strategies do you use when your pet is being too helpful?
