Happy Squirrel Quilts

Eye Pillow

Andrea Coyle
IMG_2732.jpg

Eye Pillow Supply List
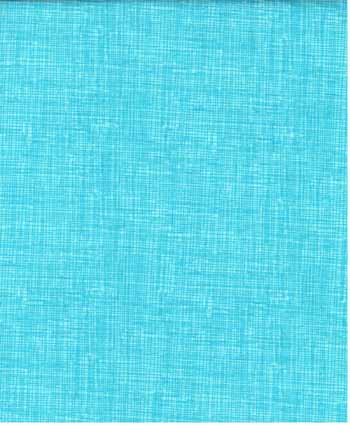
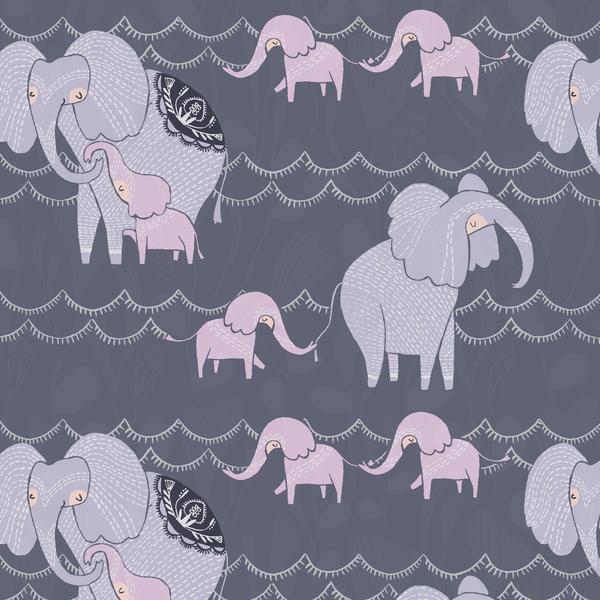
- 9” x 9” piece of cotton fabric (Cactus fabric can be purchased here)
- poly-pellets (8 oz or about 1.5 cups)
- sewing thread to match
- chopstick for turning
- kitchen funnel
- sewing machine and basic tools such as scissors and ruler

This eye pillow was designed using the weight and dimensions recommended in the restorative yoga book, Relax and Renew by Lasater. The finished pillow should weigh about 8 oz. with the dimensions of 1” x 4” x 8.5”. This 10 minute project would make a great gift!

IMG_2733.jpg

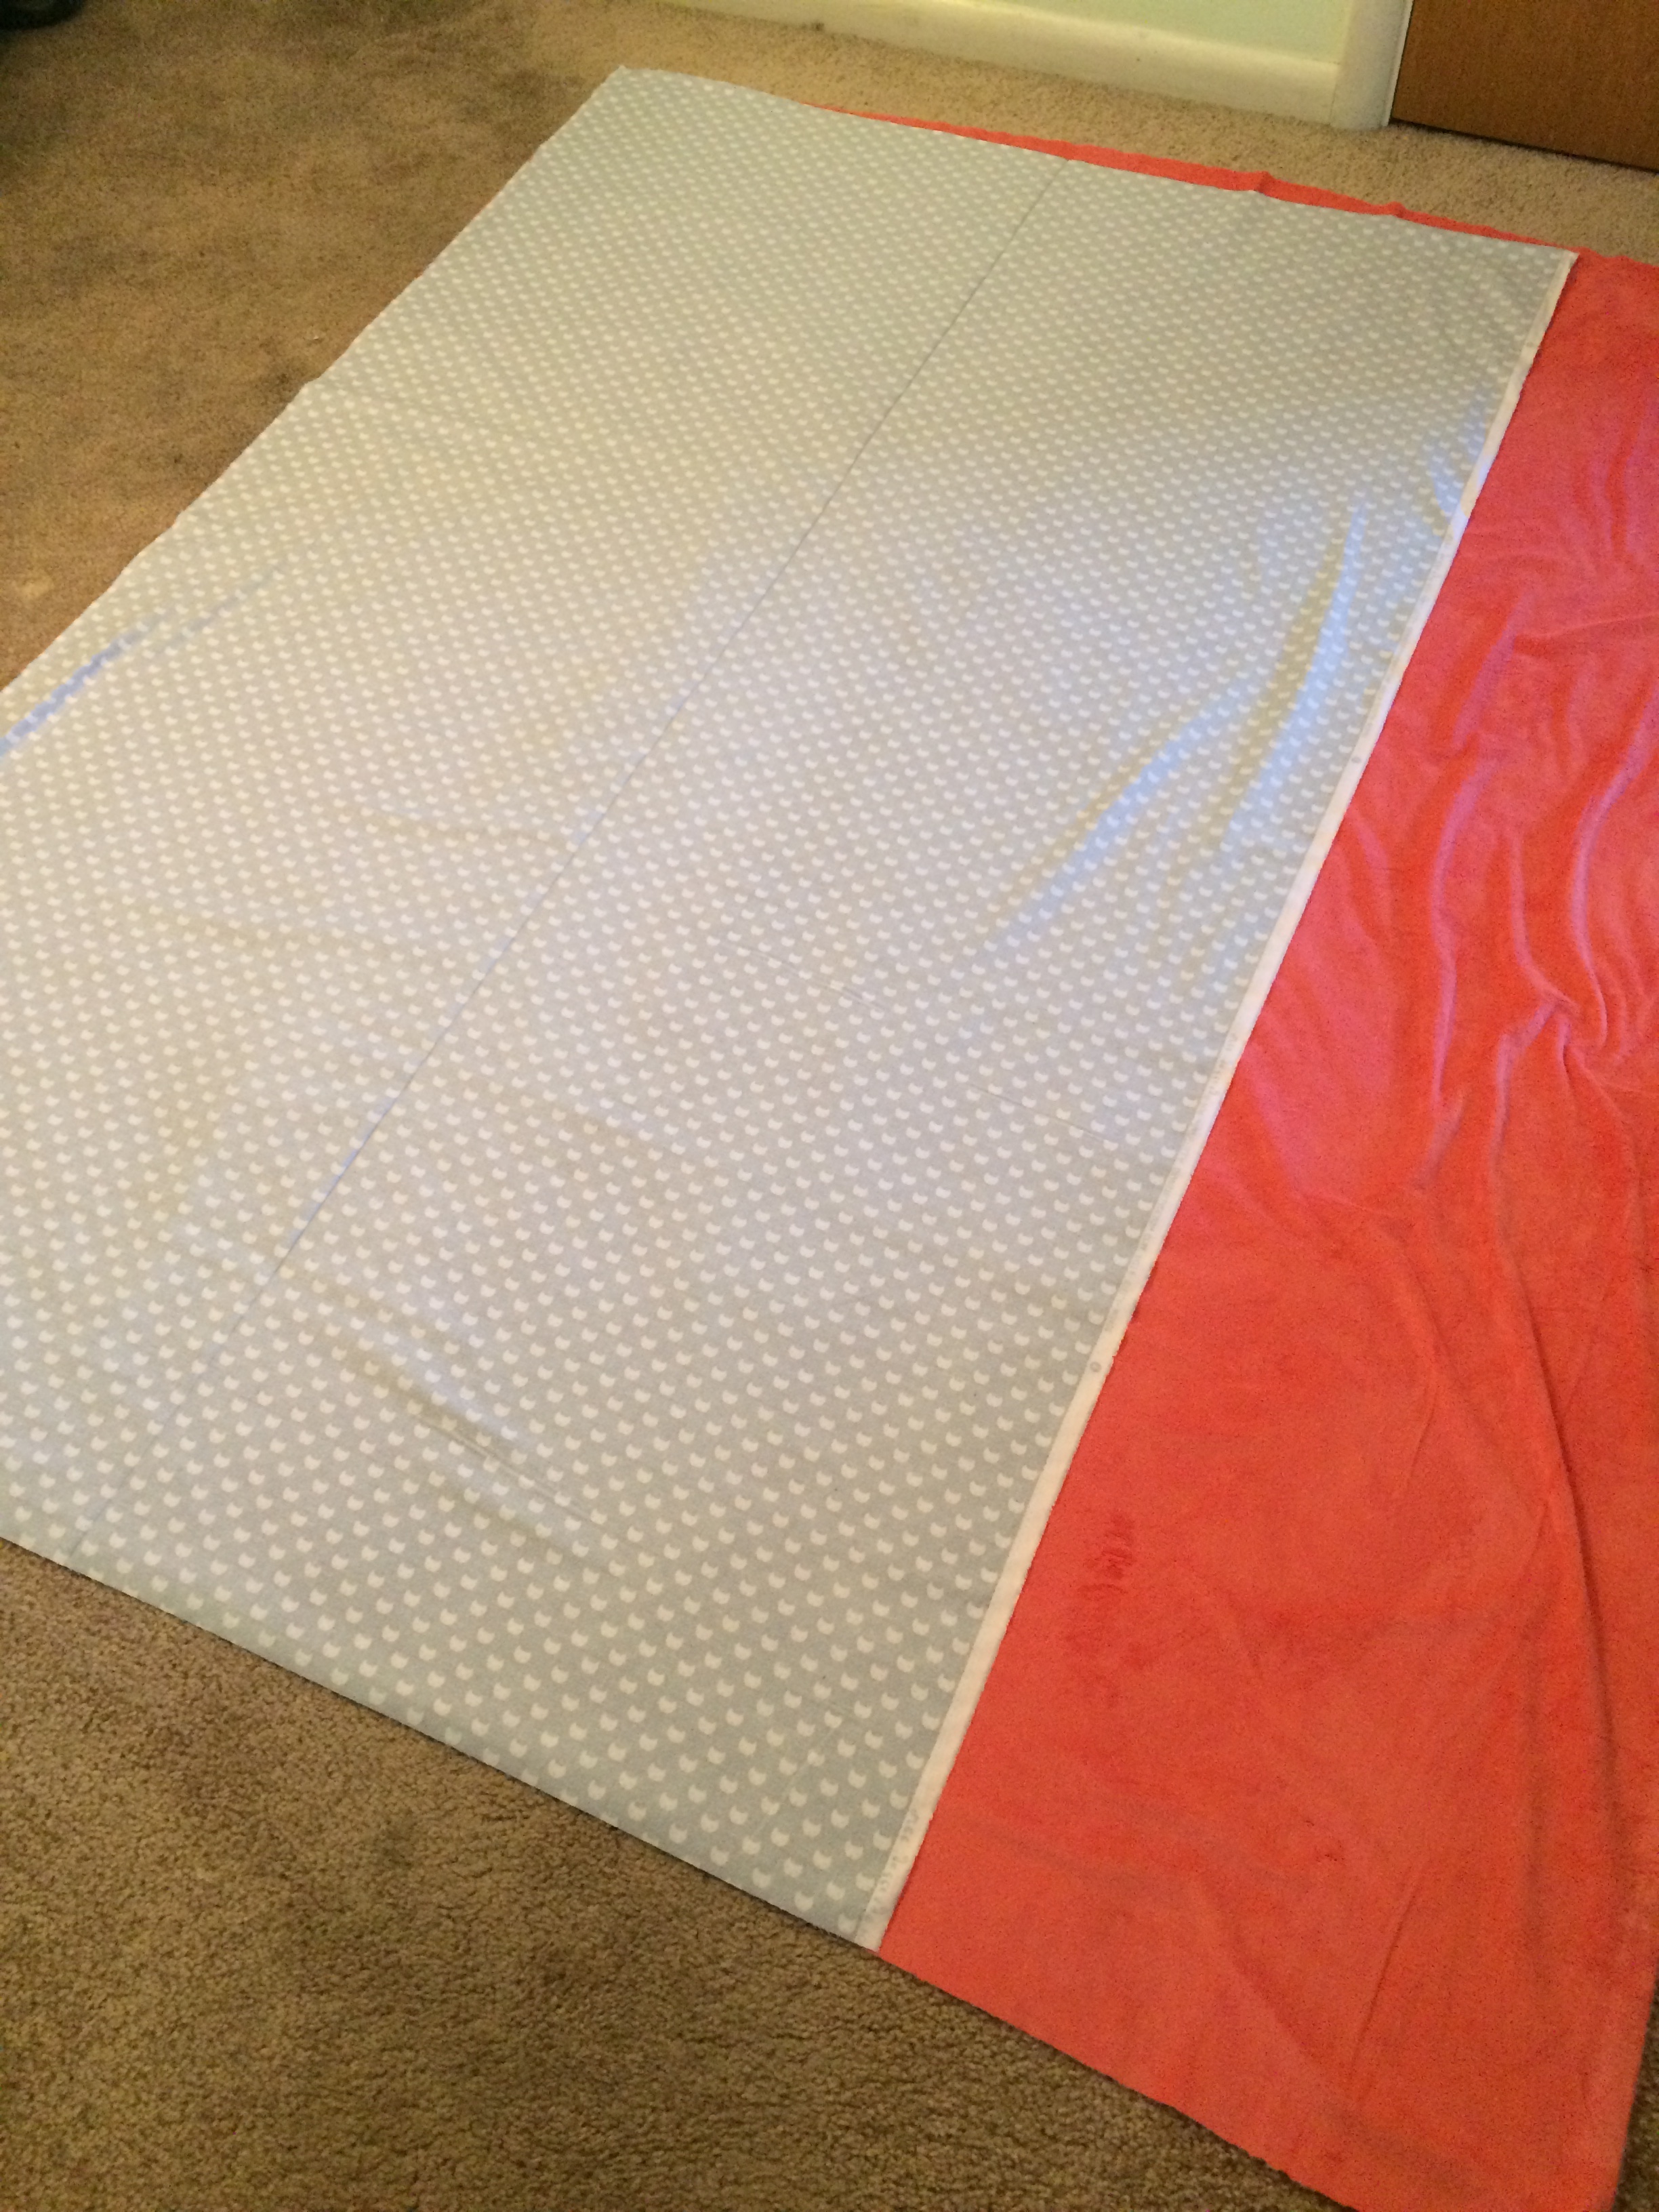
Cut your 9” x 9” piece of fabric in half to create two pieces of fabric each measuring 4.5” x 9”

IMG_2734.jpg

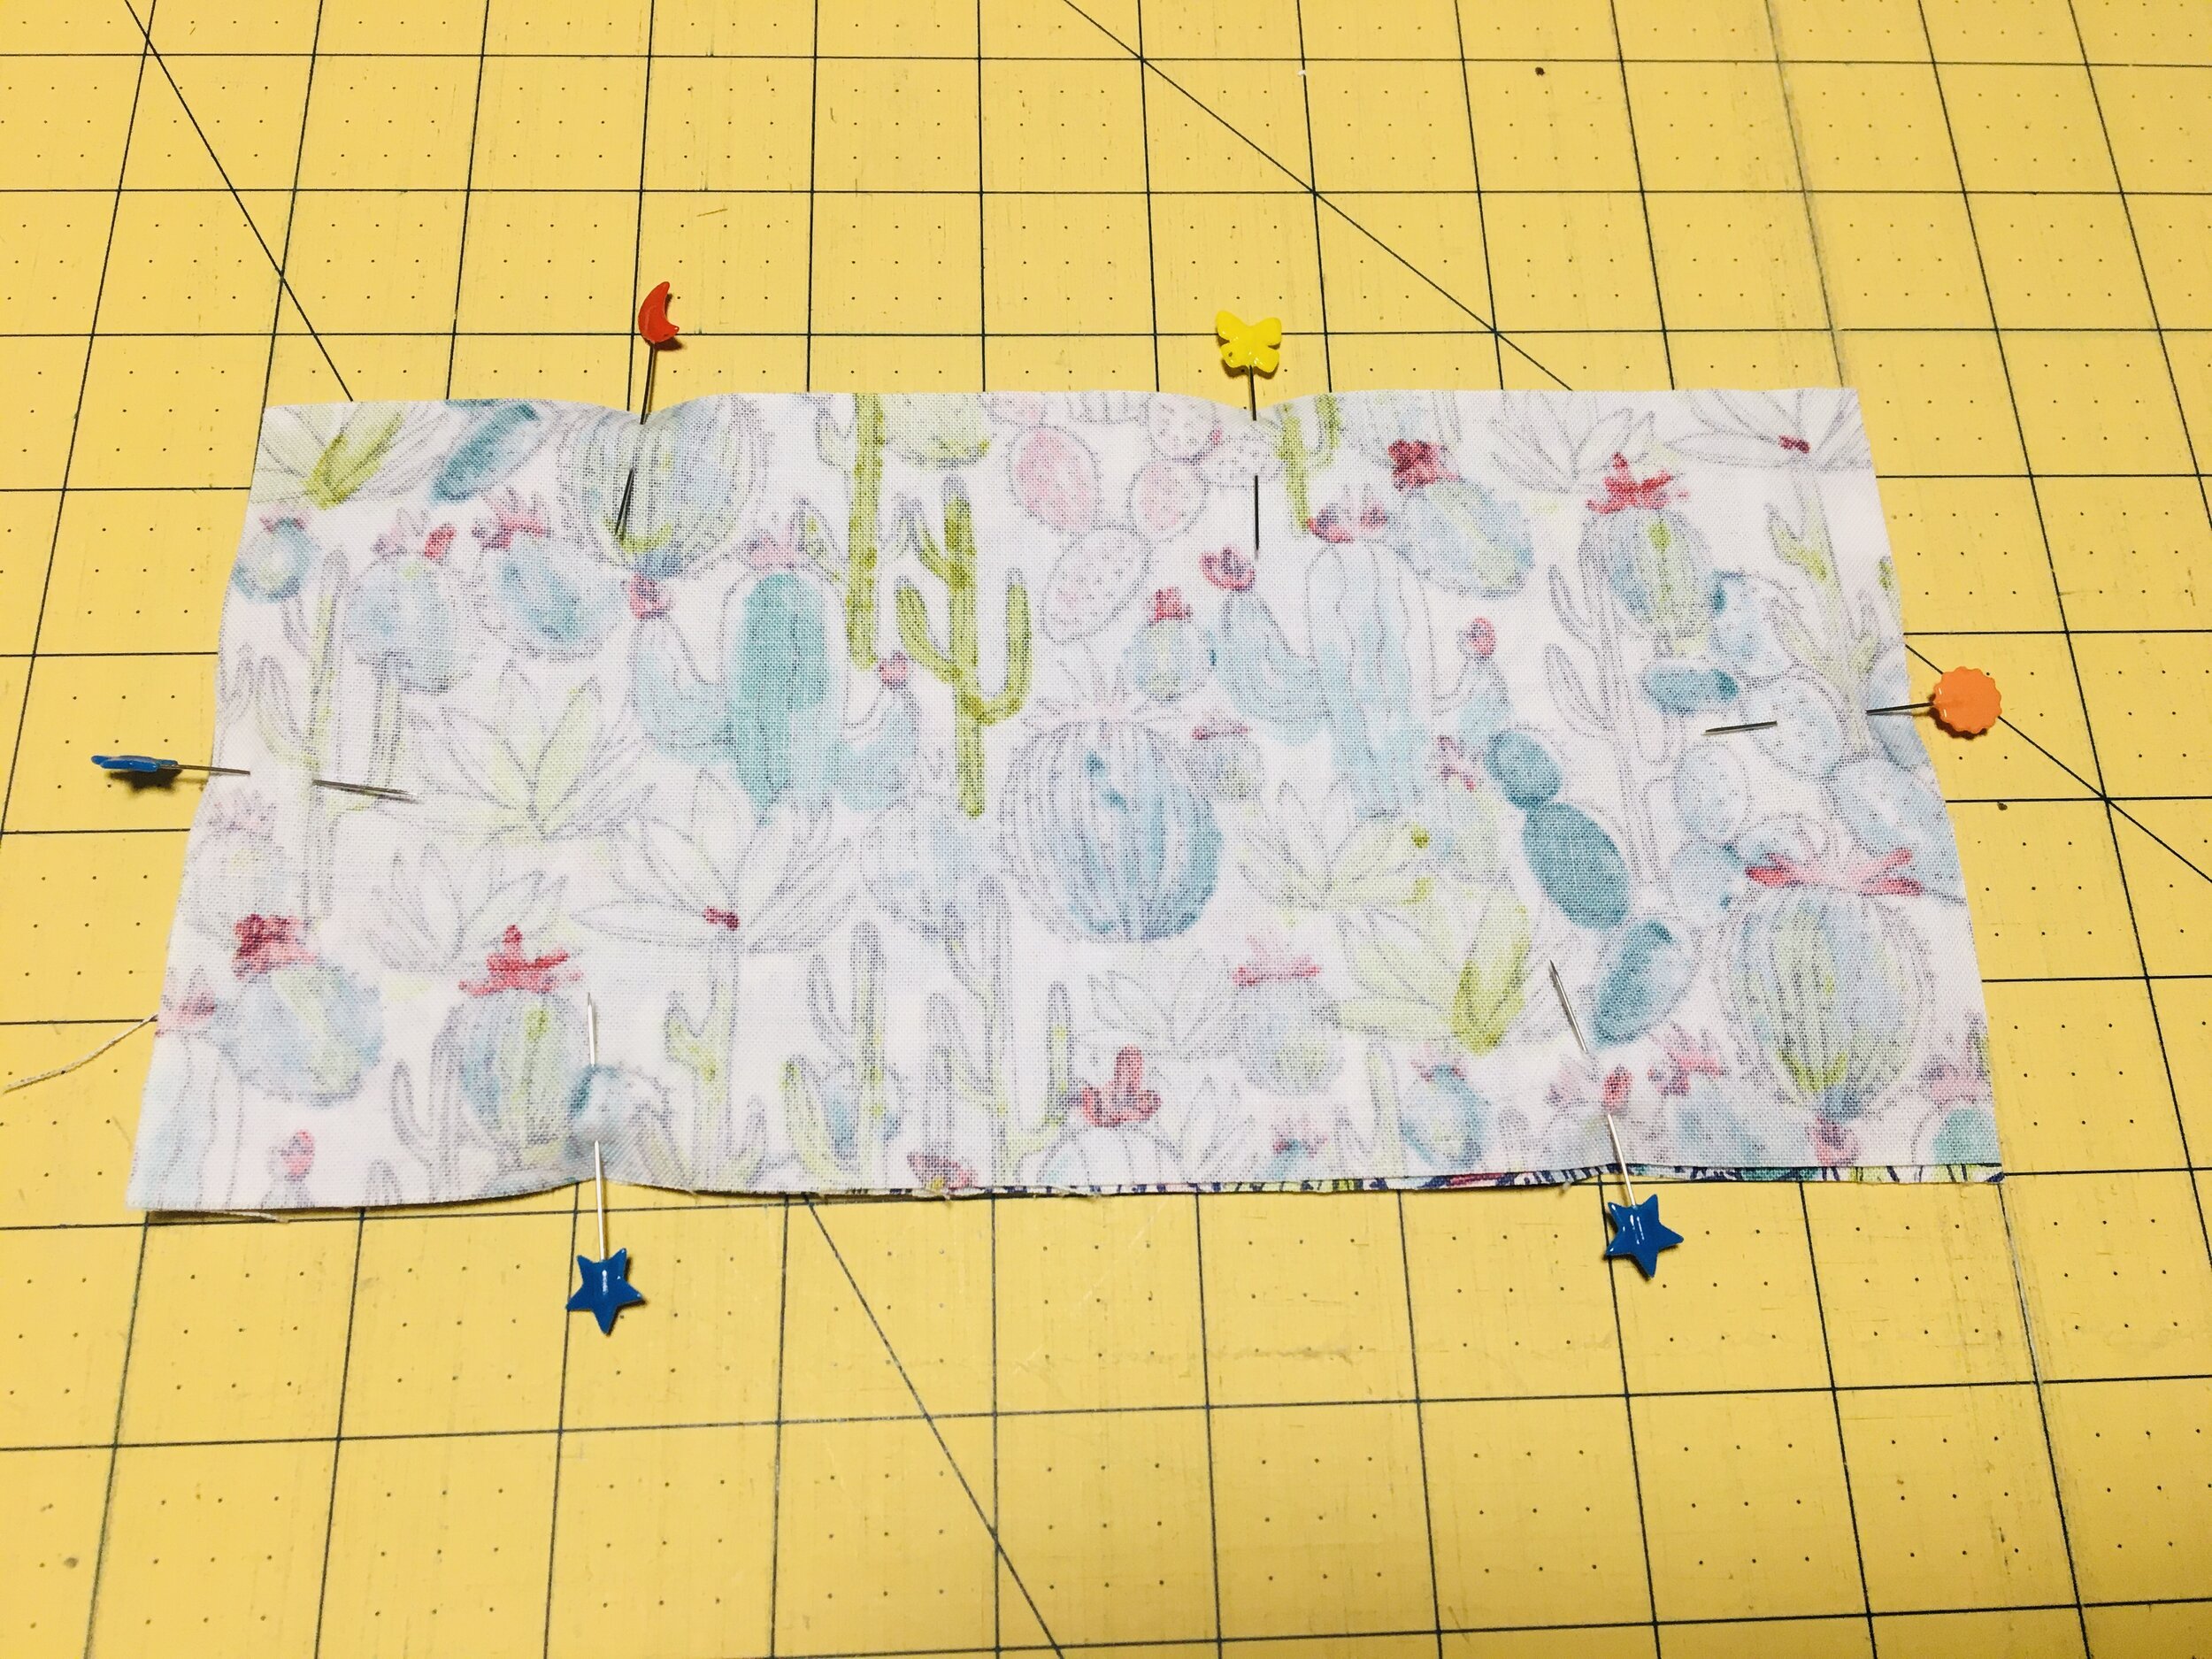
Pin the two pieces of fabric right sides together. If you chose directional fabric, pin accordingly.

IMG_2735.jpg

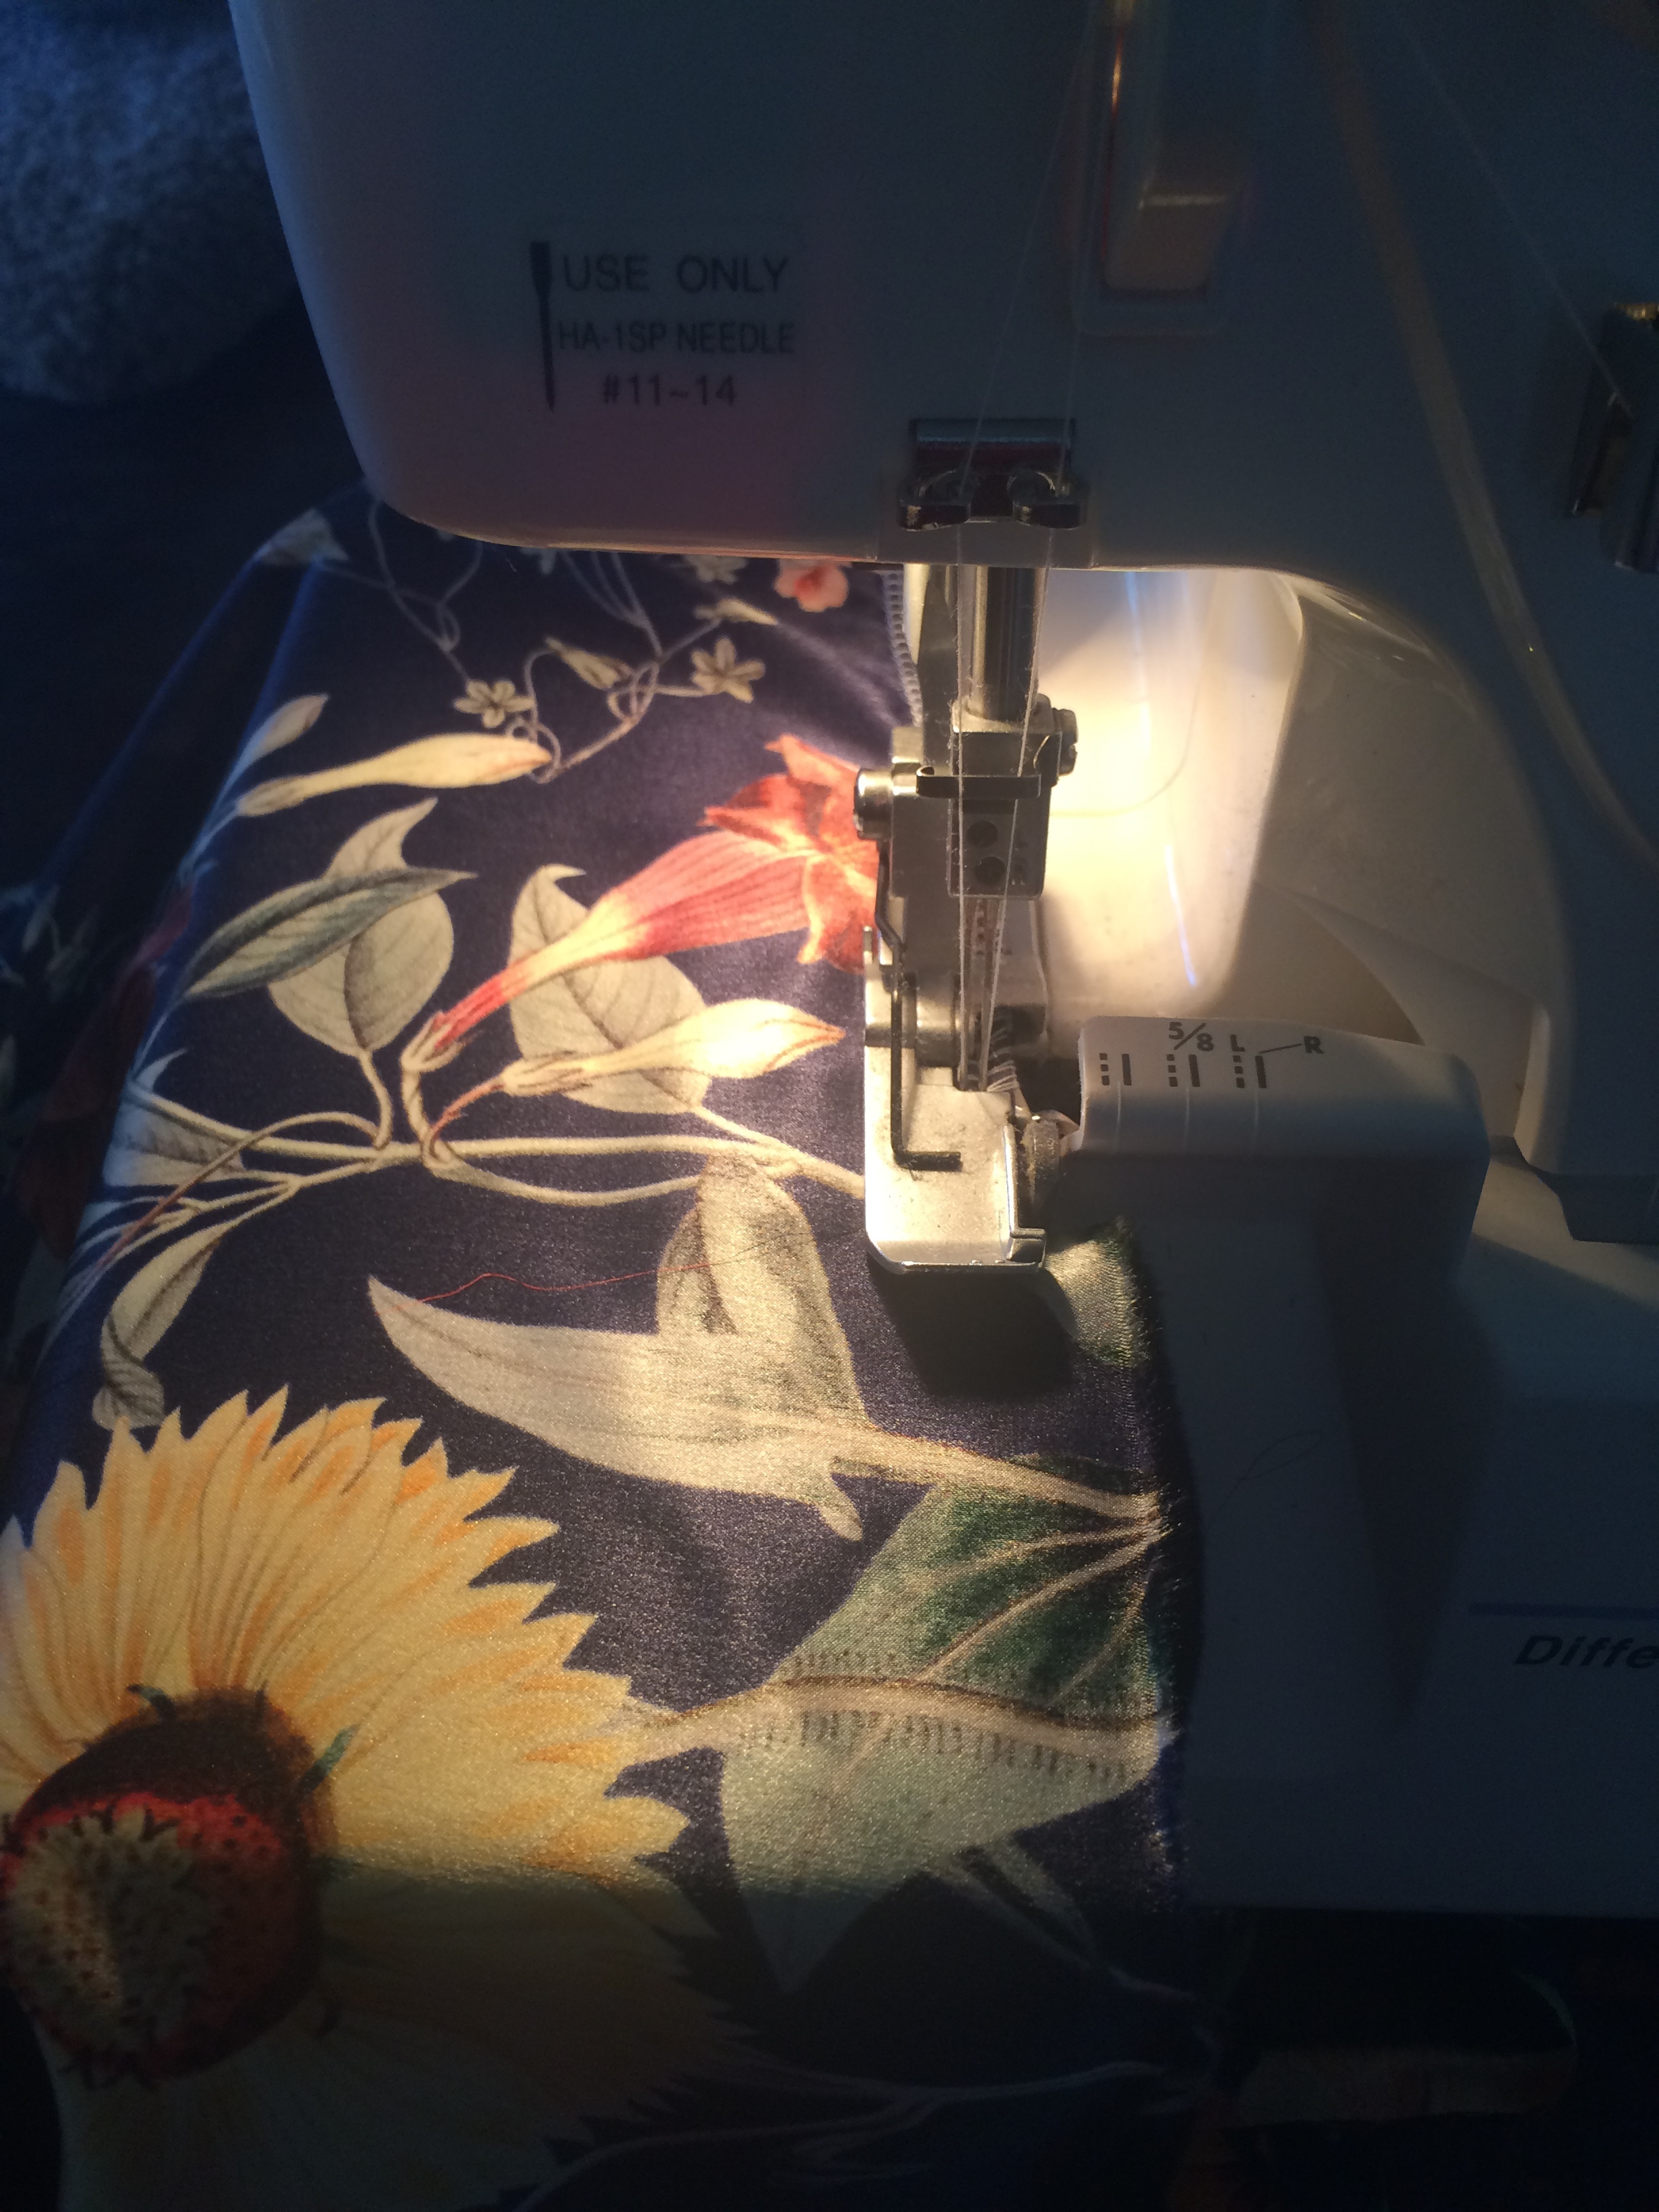
Sew around the two pieces using a 1/4 inch seam allowance. Leave a 1 - 2” opening for turning and stuffing. Use a stitch small enough that your poly-pellets will not spill out the seams.

IMG_2736.jpg

Turn right side out. You may wish to clip your corners or use a turning tool to help with this step.

IMG_2737.jpg

Measure 8 oz. (1.5 cups) of poly-pellets. Using the kitchen funnel, fill your pillow with poly-pellets.

IMG_2738.jpg

Stitch the opening close using your sewing machine or hand stitch. Be sure to backstitch to secure well.

IMG_2741.jpg

Enjoy your finished Eye Pillow! Your pillow is washable. You may wish to use a scented oil for a relaxing effect.

Silk Violin Bag

Andrea Coyle
IMG_8780.JPG

Covering your violin in a silk bag can help protect if from changes in temperature and humidity. It also protects again dust and other items in your case. While you could use a non-silk, satin material, just know that there is little benefit for climate control in a satin bag. Your bag will provide added protection, but you will still need to take good care of your instrument. For example, do not leave it in a hot or cold car.

Supplies:
1/2 yard of silk
scissors
ribbon for drawstring
sewing machine
coordinating thread
violin (for reference to make your own pattern)

IMG_8767.JPEG


I used Silk Charmeuse that has the printed design on the crepe side. This is was perfect as I wanted the smoothest side of the fabric on the inside of the bag against my violin.

IMG_8768.JPG
This paisley print bag originally made for my viola is made out of inexpensive satin. As you can see I did not include a drawstring. Instead I made the bag extra long so that it could be folded around the neck of the instrument. I used a zigzag stit…

This paisley print bag originally made for my viola is made out of inexpensive satin. As you can see I did not include a drawstring. Instead I made the bag extra long so that it could be folded around the neck of the instrument. I used a zigzag stitch with the seam on the outside of the bag

IMG_8771.JPG

Your first step is to lay out your piece of silk and cut out a rectangle that is a little more than twice to three times as wide as your instrument. If you have an extra high chin rest make sure that you make your piece of fabric a little wider to assure that your instrument will fit inside the bag. You will want the piece of fabric to be 5-10 inches longer than your violin so that you can add a drawstring sleeve at the top.

IMG_8772.JPG

Your next step is to fold your piece of fabric in half and lay your instrument on top. Use the instrument as a guide to trim and round off the bottom of the bag (see picture). I used a serger machine to construct my bag. In the past I have used zigzag stitches or a french seam. Whatever method you choose, make sure that your seams are on the outside of the bag so that your instrument is not rubbing against a rough seam.

First, i ran my serger along the top of the bag with the fabric open (please unfold it from the cutting stage!). I also used the serger to stitch a little ways down each side of the fabric from the top. This gives me a polished edge for the drawstring sleeve. Once I had prepared the edges with the serger I took my bag over to my featherweight machine and created the drawstring sleeve. To do this I folded the top of the bag over twice to create a sleeve. I then stitched along the edge.

Now that you have completed your drawstring sleeve at the top of the bag it is time to fold your fabric in half (like you did in the cutting stage). Take your bag back to the serger and stitch from just below the drawstring sleeve all the way around the bag until you reach the folded edge. Make sure that you stitch your bag together so that the smoothest side of fabric is on the inside of the bag with the seams on the outside.

IMG_8775.JPG

Now take your ribbon and feed it through the drawstring sleeve. You may find it helpful to use a safety pin attached to the ribbon to feed it through more easily. Cut your ribbon at an angle and tie the two ends together.

IMG_8776.JPG

Now you have a lovely violin bag to greet you each time your open your case, or a lovely gift to give to the violinist in your life!

IMG_8779.JPG

We’d love to see pictures of your cozy little violin bags! Email pictures to us at happysquirrelquilts@gmail.com or tag us on social media!

DIY Pincushion

Andrea Coyle
corgi pin cushion.jpg

Pincushions make such a cute and inexpensive gift for all of your quilting and sewing friends! They can easily be personalized by picking out a container or fabric color that you know will be loved and cherished by the recipient!

IMG_8489.JPG

Supplies:
- 1 small to medium sized ceramic container such as a candle holder, tea cup, small bowl, or small flower pot (we recommend visiting your local thrift and charity shops to find one)
- Craft Glue (we recommend Beacon Liquid Fabric Adhesive)
- crushed walnut shell (available at your local quilt and pet shops)
- scrap fabrics (about 10”x10” pieces)
- thread and needle
- small funnel


Before I talk about how to make your pincushion, please know that it is not an exact science! Each pincushion will be constructed a little differently so be patient and keep trying!

Step 1 Cut out 2 (or 4 if you wish to have a lining) pieces of fabric roughly the shape of your container opening. Make sure the your pieces a 1-2” bigger that your opening. Place your pieces of fabric wrong sides together (sandwiching the lining pieces inside).

Step 2 Use a running stitch to stitch around the edge of your sandwiched pieces of fabric. Leave a small opening.

Step 3 Use your funnel to fill your fabric pouch made in step 2 with walnut shell.

Step 4 Test the size and shape of your walnut filled pouch by placing it in your selected container. You may need to add or remove walnut shell to make it fit properly. It should be a fairly tight fit.

Step 5 Once you are happy with the look of your pincushion, remove the walnut filled pouch. You will now glue the pouch into the container, being careful not to get glue on the exposed fabric (your pincushion top!). You may need to put something heavy on top of your pincushion while it dries to keep it from popping out of the container.

Step 6 Wrap and gift or enjoy!

Need a quick, cute, ready made gift? We sell handmade pincushions in our online shop and at shows. Shop now here!

bird pincushion.jpg

If you have any questions, please feel free to email us at happysquirrelquilts@gmail.com! We’d also love see your finished pincushions! Feel free to email us or tag us on social media!

Sushi pincushion.jpg

Free Motion Flowers Class

Quilts, ClassesAndrea Coyle

La Jean taught a fun Free Motion Flowers Class yesterday for the Smokey Hill Quilt Club! The class went over the basics of free motion quilting, design, and beginning art quilting. Students used techniques learned in the class to create a one of a kind floral arrangement quilted wall hanging. Don’t they look awesome! We are excited to see their finished projects and hope to share them with you when they are done! If you are interested in hosting a class, please check out our classes page here.

Free Motion Class Sept 29, 2018.JPG

Weighted Blanket

Andrea Coyle

Recently I made an adult throw sized weighted blanket and thought I'd share some pictures! I made mine out of 2 yards of cotton (Baltic) and 2 yards of minky fabric. I weigh about 130 lbs, so I used 12 lbs of poly beads to fill my blanket (the recommendation is approximately 1 lb of blanket for every 10 lbs of body weight). I created 4"x4" sections to keep the beads in place. These blankets are used for therapeutic purposes. You should talk to your doctor/therapist to see if a weighted blanket is right for you. Please make sure you ask them about the recommended size and weight for you. 

I used this tutorial from Craft Nector to make my blanket.

Eowyn Posing with the finished blanket.

Eowyn Posing with the finished blanket.

Preparing right sides together.

Preparing right sides together.

Trimmed and pined. Make sure to turn the 4th edge over (stitching around the other three). I added an extra layer of cotton inside to keep the beads from stretching the minky too much.

Trimmed and pined. Make sure to turn the 4th edge over (stitching around the other three). I added an extra layer of cotton inside to keep the beads from stretching the minky too much.

 I trimmed the corners before turning the blanket.

 I trimmed the corners before turning the blanket.

I top stitched around the three edges so that it would match the forth edge once that is closed.

I top stitched around the three edges so that it would match the forth edge once that is closed.

I marked every 4" with a pin so that I knew where to stitch each chanel.

I marked every 4" with a pin so that I knew where to stitch each chanel.

Ewoyn supervising the construction.

Ewoyn supervising the construction.

April 30th National Adopt a Shelter Pet Day

Kira Dobbs

April 30th National Adopt a Shelter Pet Day                                                                      By: Kira Dobbs

If you're anything like me I LOVE animals! Sadly there are so many pets that sit every day at a shelter hoping that today will be their lucky day, a day where they will find their "fur"ever home. If I could I would turn into the crazy pet lady who adopts at least an animal a day, but alas I live in a pet free condo. As much as it breaks my heart that I can not adopt I know that there are other ways I can help, and you can too! Many shelters are always in need of blankets and beds to make their pets as comfortable as they can while they are looking for homes. So dig into your stash and start quilting! Simple scrappy quilts will be loved by all the furry friends. Also if you have super super small scraps consider stuffing a bed with them. I know there are many groups that even accept your small scraps and they will make them into beds for shelters. So even if you can not adopt one today, you can still make a HUGE impact and brighten up (and warm up) a little furry friends day today!

Here is our friends adopted dog - Daisy Mae enjoying her hand-me-down blanket. It was originally an "oops" quilt my mom did that turned into our dogs quilt and then over time got passed on to Daisy Mae. As you can see she is one happy pup to not onl…

Here is our friends adopted dog - Daisy Mae enjoying her hand-me-down blanket. It was originally an "oops" quilt my mom did that turned into our dogs quilt and then over time got passed on to Daisy Mae. As you can see she is one happy pup to not only have a blanket, but a loving "fur"ever home!

Earth Day 2018: End Plastic Pollution

Andrea Coyle

April 22 - Earth Day 2018: End Plastic Pollution                                                                          By: Kira Dobbs

This year Earth Day is dedicated to ending plastic pollution. The horrors of plastic waste is all around us. As a crafter I know I’m pretty good about not letting anything go to waste, however I feel I can do better about my plastic waste. This year I plan on making a point to cut out all unnecessary plastic waste from my craft room. I hope you will be inspired to do the same. With a few simple changes we CAN make a difference!

Here is a list of 5 things you can do to cut down plastic use in the craft room:

trash.jpg

1.

Do not use a plastic bag in the trash can. I never throw away anything that would stick or smell up my trash can anyway. When the can gets full just dump it in the main house trash.

glass.jpg

2.

Use a reusable water bottle or glass instead of a plastic water bottle.

shop.jpg

3.

Use reusable shopping bags when shopping for craft supplies. (because we all know we need more stuff!)

4.

Reuse a sheet, pillowcase, or curtain bag to store small project kits. They are the perfect size and can be reused over and over again!


trash.jpg

5.

Take a break from crafting and go for a walk. Take a trash bag and gloves with you and pick up any plastic or trash you find on your walk. (make sure you recycle anything you find that can be!)

Cats and Dogs - Inspiration Samples

Andrea Coyle

La Jean and Kira have been busy making cat and dog samples from some of our new arrival patterns! The first is a bright take on Furlicity. While the directions include how to make your Furlicity block into a mini quilt, cushion, and tote you can easily appliqué her onto anything! La Jean opted to put her on a T-shirt for me to show off another creative way to use your pattern.

544303146.jpg
544303127.jpg
Lime Amazing Lace
from $2.25

The Dog VS Cats pattern is such a fun and quick pattern (and at only $3.50 would make a great gift!). Kira did the embroidery for the lettering and La Jean did the rest! The dog and cat are appliquéd on with button embellishments. While I write this Éowyn is demanding that she be served her breakfast - so cats really do have staff!

IMG_1539 copy.jpg
Alphabet Story
from $2.88
Aqua Ombre Dots
from $2.75
Coral
from $2.75
Aqua
from $2.75

It's A Doggy Dog World includes 12 dog appliqués and instructions for messenger bag, pillow, and panel. La Jean decided to create two different approaches to the same dog pattern. Isn't he adorable?! You can easily create a collection of dogs in more traditional colors or with bright, fun, and funky fabrics!

IMG_1542.jpg
En Route Sable
from $3.00
IMG_1541.jpg
Maze Alley
from $3.00
Grape Ombre Dots
from $2.75

April 7th National Handmade Day

Kira Dobbs

April 7th National Handmade Day
By Kira Dobbs

Coming from an artistic family I was raised with many unique and fun traditions. My all time favorite is our Christmas Gift Tradition. Our tradition is that you must make something for everyone before you can buy them something from a store. Some years (and people) it takes almost all year to come up with and to finish a project, and yes some years your gift might come to you in kit form, but it is always fun. I actually don't mind getting a kit because then after opening presents in the morning, you get to spend the rest of the day with that person finishing the gift (so really it's like two gifts in one!). This tradition has carried on to other holidays as well like birthdays and Mothers and Fathers Day. You can never beat the feeling of giving something that you took the time to really think about what that person would like and then make them something accordingly. I also love and cherish the gifts I receive because I know they took just as much thought and time to make it for me. So I urge you to try it out! Pick a holiday, a gift giving day, or any day, and make something for someone you love.

Christmas Day!

Christmas Day!

Panda Quilt mom made me. Real bamboo was used as the hanger.

Panda Quilt mom made me. Real bamboo was used as the hanger.

Get creative with your wrapping.

Get creative with your wrapping.

Easy Tube Quilt

Andrea Coyle

We are excited to share the Easy Tube Quilt instructions with you! This quilt is the perfect project for beginner quilters and for charity quilts. It is a great size for a wheel chair quilt or childrens quilt. It looks awesome in red, white, and blue!
 

IMG_20180328_153900.jpg

Easy Tube Quilt
by Happy Squirrel Quilts
Finished Size: 36” X 44”

Supplies Needed:
5 different fabrics 10” X WOF
1 1/2 yards of backing fabric
1/2 yard binding fabric
1 1/2 yards of batting
Safety Pin
Seam Ripper

Instructions:
1. Cut the 5 10” X WOF fabric in half. You should now have 10 5” X WOF strips.
2. Layout fabric in desired order. Example fabric 12345,12345.
3. Sew the 10 strips together (long edges together) using 1/4” seam. Always sew with your fabric “right sides” together for this project.
4. Iron seams. First row, iron seam up. Second row, iron seam down. Continue alternating. This will help your seams nest together.
5. Sew the bottom row to the top row, making a tub.
6. Place tube of fabric on cutting board. Trim edge to square, then cut into eight 5” strips (across the tube). Carefully stack the strips (which are still loops) in order as you cut them.
7. Take the first strip (#1 - strip on the top of your pile) and remove the seam at the top. Put safety pin in the top left corner (indicating the top of the quilt).
8. Take the next strip (#2) and remove the seam 1 block down from the top.
9. Sew strips #1 and #2 together. You should be able to see your blocks begin to stagger in a diagonal pattern.
10. Take the next strip (#3) from the pile and remove the seam 2 blocks down from the top. 
11. Sew strip #3 to the the strips already stitched together. 
12. Continue step 10 until you have completed all 8 strips.
13. Iron top.
14. Add backing, batting, and top.
15. Quilt as desired.
16. Bind and enjoy!

If you prefer to have printed instructions, please consider purchasing one of our Easy Tube Quilt kits! Our kits create a two color version of the Easy Tube Quilt and includes the fabric for the top and binding!

Easy Tube Kit
$16.50

Cute easy tube quilt kit packaged in a little paint can. Comes in thee different color options.

Includes:

-Pattern

-Top Fabric

-Binding

Finished Size: 36" x 44"

We'd love to see your Easy Tube Quilt! You can send pictures of your project to happysquirrelquilts@gmail.com. We would love to share them on our website and social media! Have a nutty day!

In a Clutch

Andrea Coyle

In a Clutch Cosmetic Case (by Straight Stitch Society) is the perfect size bag to store your crafting supplies, cosmetics, and other small items. This pattern is extremely easy to follow and has the easiest zipper instructions I've ever encountered! This bag can easily be made in a day. I plan on making this pattern over and over for gifts. It's the perfect size to "wrap" a small gift. These would make a wonderful addition to Mother's Day gifts or birthday gifts! We love that this is a fat quarter friendly project!

IMG_7754.jpg

I made View 1 which has two vertical ruffles. The pattern includes three views, including two ruffled and one pleated options. Normally I'm not a huge fan of ruffles, but this bag is so adorable! In the right fabrics the ruffles look more modern.

IMG_7753.jpg

As you can see I used a wild black and white Art Gallery Fabric for the main body of my clutch. That fabric is called Plumage Spices. I used a rich, leafy green by Kona for the ruffles and lining. I also used a Pellon 911FF Fusible Featherweight Interfacing for the stabilizer and a black nylon zipper. The pattern calls for at least an 8" zipper, so I used a 12" zipper that I had on hand.

In A Clutch.jpg

If you would like to make your own I've linked the pattern and fabric below! We'd love to see your version of In a Clutch! You can send pictures of your project to happysquirrelquilts@gmail.com. We would love to share them on our website and social media! Have a nutty day!

In a Clutch Cosmetic Case
$8.00

Have you ever reached into your handbag and found that you didn't have one of your essentials? It's no fun to have to make do in a clutch. Load up this pretty little cosmetic case, keep it in your handbag, and you'll never have to again. This cosmetic case can be made in three different, fun styles. Your finished case will look so lovely you may want to carry it as a clutch instead of tucking it away. A great gift, this pretty carry-all can also function as an evening bag.

Finished Size: approx. 8" wide x 5" high x 1 1/2" deep

Edit! I made a few additional clutches as gifts! I made several more "view 1" and a "view 2" (with pleats. I hope you enjoy these as well!

IMG_7758.jpg
IMG_7766.jpg
IMG_7767.jpg
IMG_7768.jpg

Happy (early) National Quilting Day!

Andrea Coyle

To celebrate Nation Quilting Day (March 17, 2018) we decided to share some of our newest samples! La Jean has been hard at work creating new samples to show case at our next quilt show. Come see them in person next weekend at the Quilt, Craft, and Sewing Festival
Denver, CO - March 22 - 24, 2018 HOURS: 10 AM - 5 PM Thursday & Friday | 10 AM - 4 PM Saturday
Please come say hi! We will be at booth "O". 
Demo: RULER SHOW CASE & EASY TUBE QUILTS
La Jean Dobbs (booth #O)
Come check out our demonstrations for several new rulers! We will also be demonstrating the Easy Tube Quilt perfect for first time quilters and charity quilts.
Classroom #2, 2:00 pm - Everyday!

Don't forget to scroll all the way to the bottom of this post to see a sneak peak of one of our demonstration quilts!

Cabo Dress.jpg
Cabo Dressss.jpg

Isn't this CABO Beach Dress adorable?! It is perfect for the beach, around the house, and casual events! Available in sizes 6-20. Sample made by La Jean Dobbs. Pattern by Cabbage Rose.

Elephant Panel Quilt.jpg

Isn't this elephant quilt gorgeous! Quilt created and designed by La Jean Dobbs using the CARAVAN - ELEPHANT PICTURE PATCHES - NATURAL panel! 

Stitch happens.jpg

This pattern, Stitch Happens, is quickly becoming a shop favorite! Personalize with your favorite colors. What a great addition to any quilting room! Sample made by La Jean Dobbs. Pattern by Kelli Fannin Quilt Designs.

Square in Square.jpg
Square in Square Sample.jpg

I saved my favorite for last! I love this Square in Square quilt made by La Jean Dobbs. She used the Square in Square and Snowball Ruler /Pattern - 5.25 inches finished ruler to create this quilt.

Super Bowl Special - Kismet Trinket Boxes + BONUS zipper!

Andrea Coyle

Get a free 12 inch zipper with each Kismet Trinket Boxes pattern Super Bowl Sunday 2018 only! Order now at Happy Squirrel Quilts. To order for local pickup (Denver area), please email happysquirrelquilts@gmail.com.

These boxes are fat quarter friendly and make excellent gifts! Use one to "wrap" up a gift for any occasion. The pattern includes three sizes in two different shapes! These adorable boxes are also perfect for storing sewing supplies, school or art supplies, hair ties, make up, dice, game pieces, jewelry and more!

2.jpg

Glue Resist Fabric Art Quilt

Andrea Coyle
Glue Resist DragonflyIMG_7450.JPG

This glue resist process can be used to make a panel or patterned fabric (it ends up looking a little like batik) for quilting and sewing. You can also use this process to decorate shirts and other cloth items. This project is quick, easy, and kid friendly.

Supplies:

  • White Prepared For Dyeing Fabric or other fabric/piece of clothing (I used about 1/4 yard for all 4 samples) - available at $10.50 a yard from Happy Squirrel Quilts
  • Elmer's Washable Clear Glue (comes in clear or blue, NOT white!) - available at most grocery and craft stores
  • Fabric Paints or Dyes or watered down acrylics (I used acrylics since I had them on hand) - available at most craft, sewing, and quilting stores
Glue Resist DragonflyIMG_7451.JPG

Once you have decided what image or pattern you would like to do begin to draw it with glue onto your fabric. I drew my own image on a piece of paper and then laid that paper under the fabric so I could trace the design with my glue. You could do the same thing with a coloring book page or clip art if you aren't feeling up to drawing. Don't use too much as it will spread as it settles and dries (unless you want that effect!). In Colorado it only took a few hours to dry, but in most places it will take a day or two to dry completely.

Glue Resist DragonflyIMG_7452.JPG
Glue Resist DragonflyIMG_7453-1.JPG

After the glue dried I used my watered down acrylics to fill in the spaces between the glued pattern. I decided to go for a stained glass effect, using different colors for different parts of the picture. If you want a batik effect you may consider painting or dyeing the entire piece of fabric just one or two colors. Don't forget to lay down plastic for this part of the project!

Glue Resist DragonflyIMG_7454.JPG

I then let the paint dry. Again, here in Colorado it only took a few hours. It will probably take longer in most places. Don't worry if your paint or dye bleeds. That is part of the effect!

IMG_7455.JPG

Once your paint/dye is completely dry you should soak your fabric in cool water for about 10 minutes. I rubbed most of the glue out with my hands after it soaked. I then put it on a short cycle in my washing machine.

IMG_7458.JPG

The example on the right in the picture above is a good example of using too much glue. All of the white spaces were once covered in glue. After washing and drying the fabric, I ironed it to prepare if for quilting. If you did glue resist on a finished item such as a shirt you are finished!

IMG_7465.JPG

I decided to stitch around my glue lines to make my image bolder. I used free motion stitching on my feather weight machine to achieve this effect. If you have different color threads I highly recommend using them to do some additional "painting" on your project. If you love your glue resist fabric just the way it is, I recommend using it to make a bag, piece of clothing, or quilt. 

IMG_7469.JPG

This is my squared up quilt. I still need to bind it, but was excited to share it with all of you! This entire project only took a few hours over two or three days. The process itself is quite easy and would make a great project for kids and adults alike! I'd love to see what you make with this process. If you have any questions about this process or would like to share your project please email me at happysquirrelquilts@gmail.com. 

- Happy Squirrel Andrea

#ShopSmall

Kira Dobbs
SmallBusinessSaturday.png

Join us tomorrow for Small Business Saturday. Happy Squirrel Quilts is a family owned and operated online quilt shop specializing in hard to find fabrics, patterns, and sewing related products. We hope you have fun shopping and don't forget to use #shopsmall as well as #happysquirrelquilts when showing off your new found goodies!

https://www.happysquirrelquilts.com/

Sewing Tip #30

Andrea Coyle

Udderly Smooth

Udderly Smooth Udder Cream

Keep your hands nice and soft to prevent snagging of fabrics by using Udderly Smooth Udder Cream. Best hand lotion I’ve come across and the best thing about it is you can find it at your local Dollar Tree (for just $1.00)!