

Covering your violin in a silk bag can help protect if from changes in temperature and humidity. It also protects again dust and other items in your case. While you could use a non-silk, satin material, just know that there is little benefit for climate control in a satin bag. Your bag will provide added protection, but you will still need to take good care of your instrument. For example, do not leave it in a hot or cold car.
Supplies:
1/2 yard of silk
scissors
ribbon for drawstring
sewing machine
coordinating thread
violin (for reference to make your own pattern)
I used Silk Charmeuse that has the printed design on the crepe side. This is was perfect as I wanted the smoothest side of the fabric on the inside of the bag against my violin.

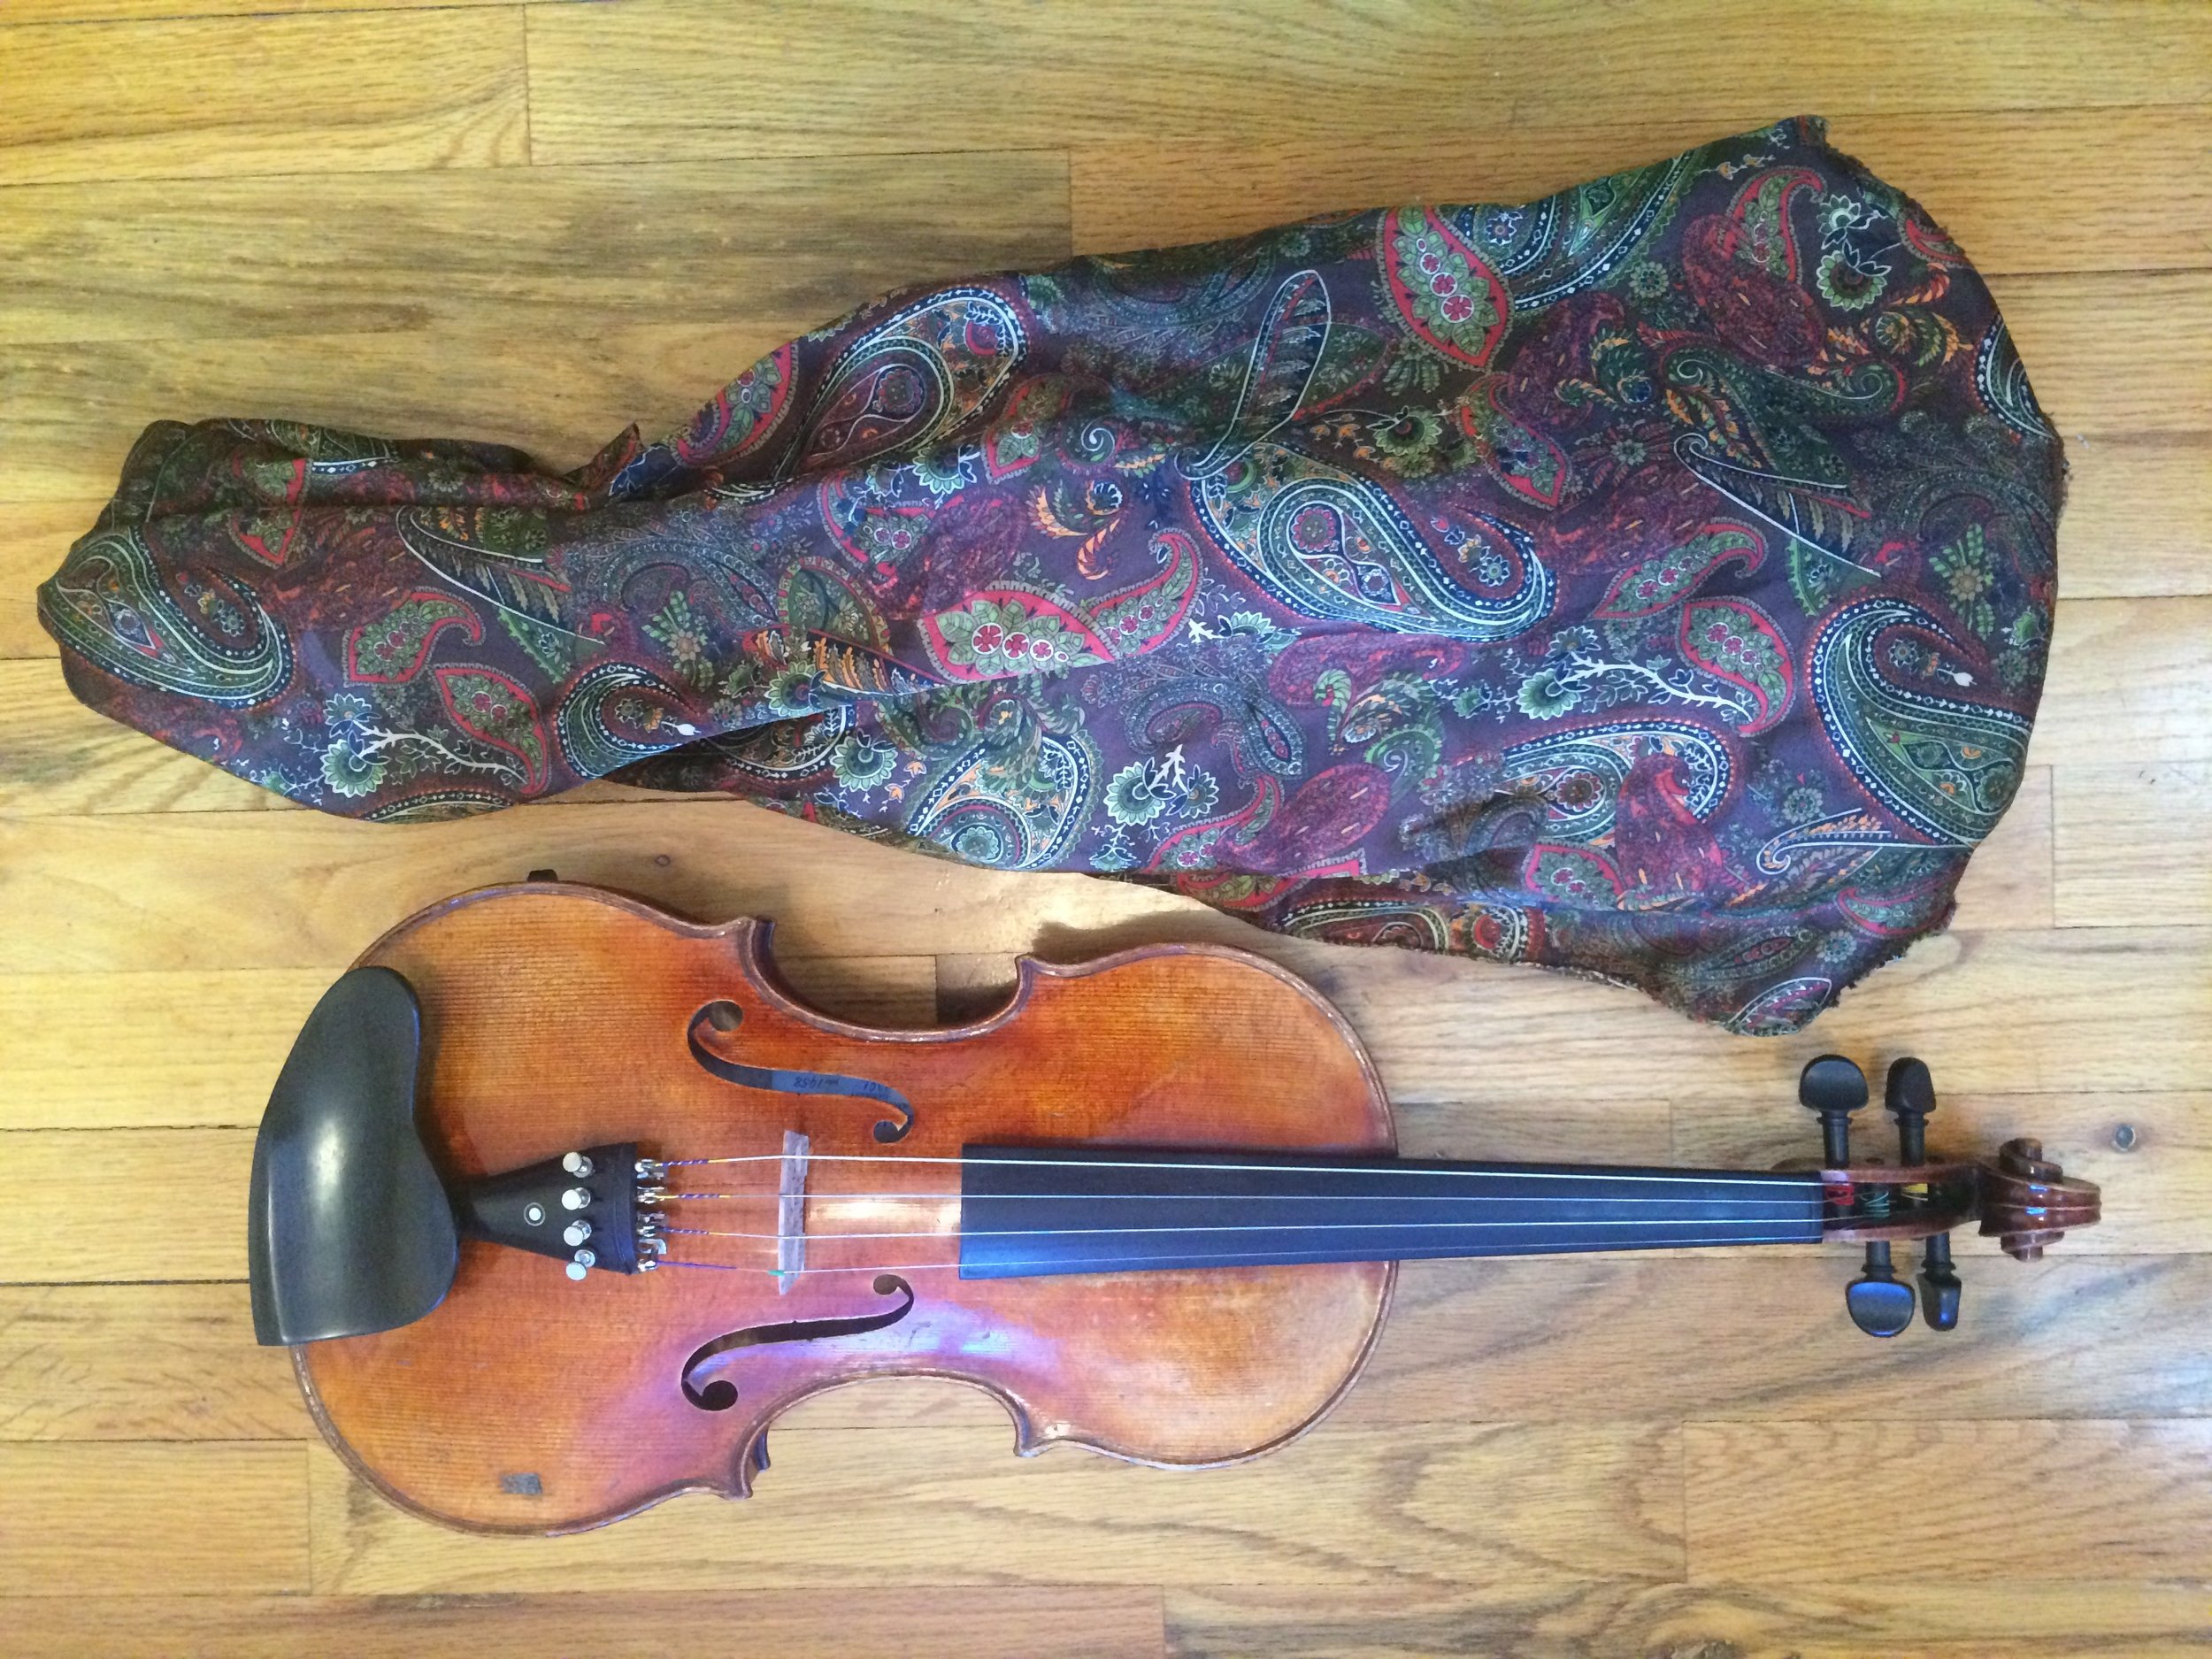
This paisley print bag originally made for my viola is made out of inexpensive satin. As you can see I did not include a drawstring. Instead I made the bag extra long so that it could be folded around the neck of the instrument. I used a zigzag stitch with the seam on the outside of the bag

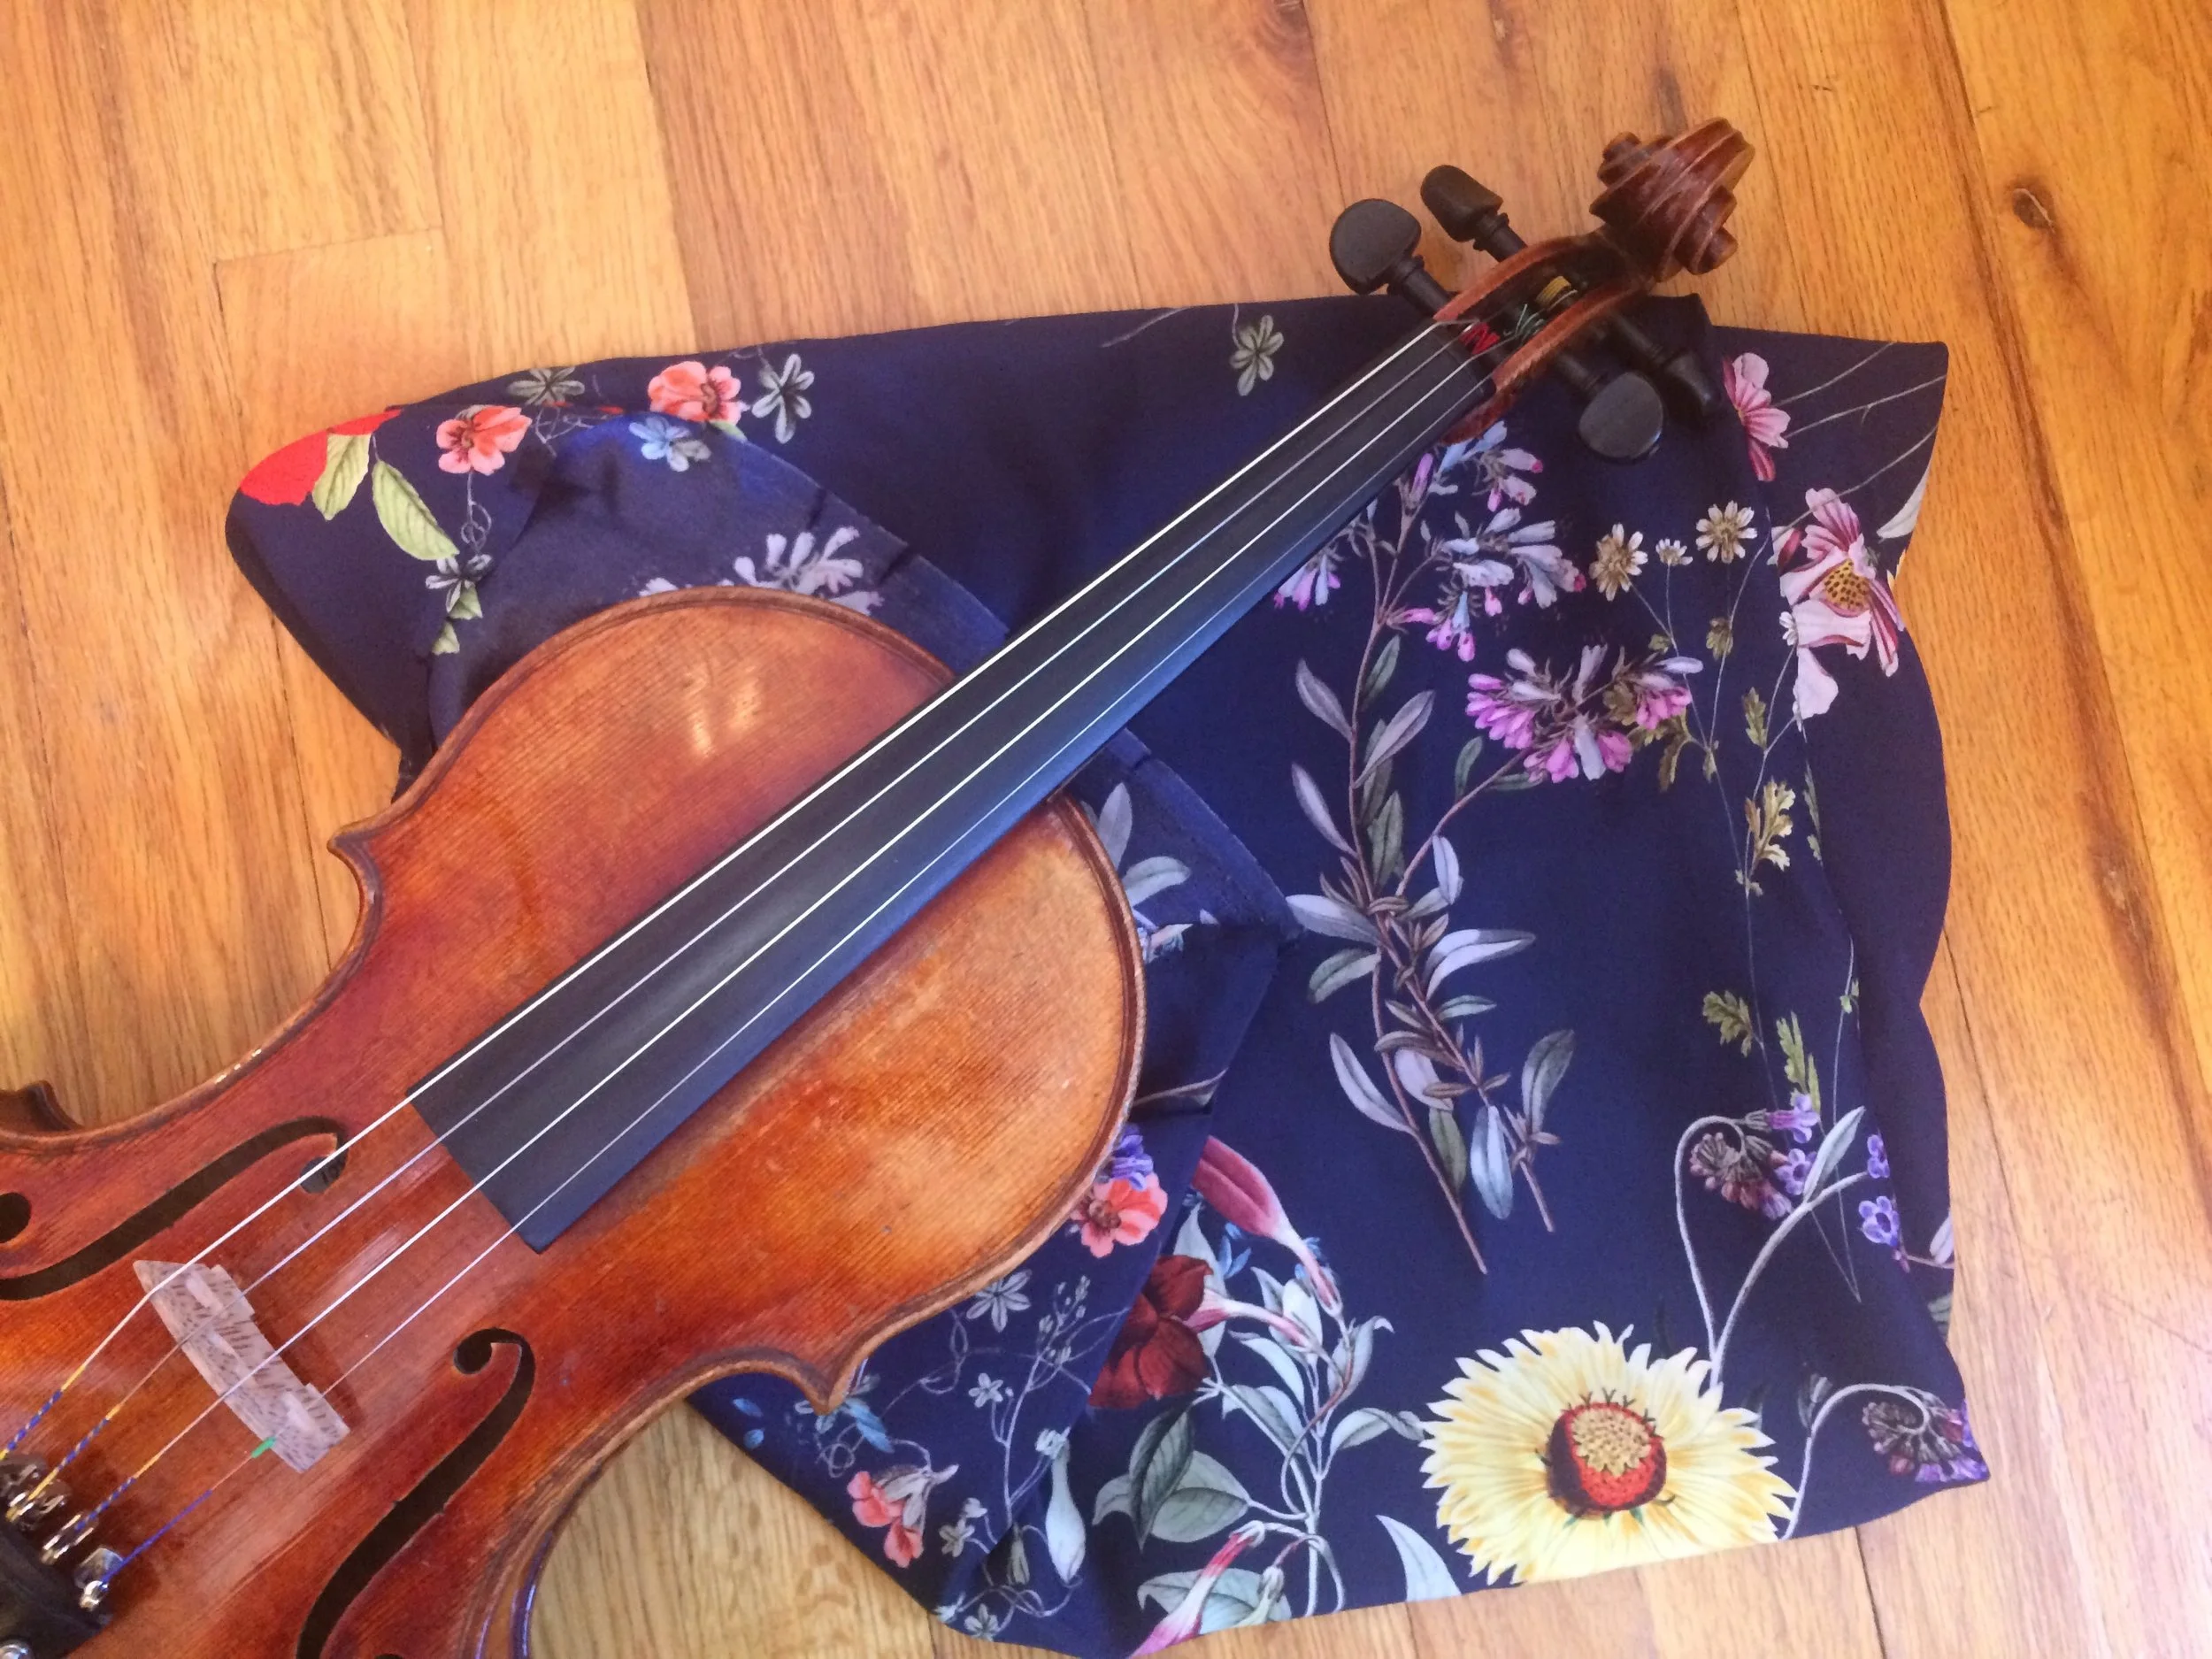
Your first step is to lay out your piece of silk and cut out a rectangle that is a little more than twice to three times as wide as your instrument. If you have an extra high chin rest make sure that you make your piece of fabric a little wider to assure that your instrument will fit inside the bag. You will want the piece of fabric to be 5-10 inches longer than your violin so that you can add a drawstring sleeve at the top.

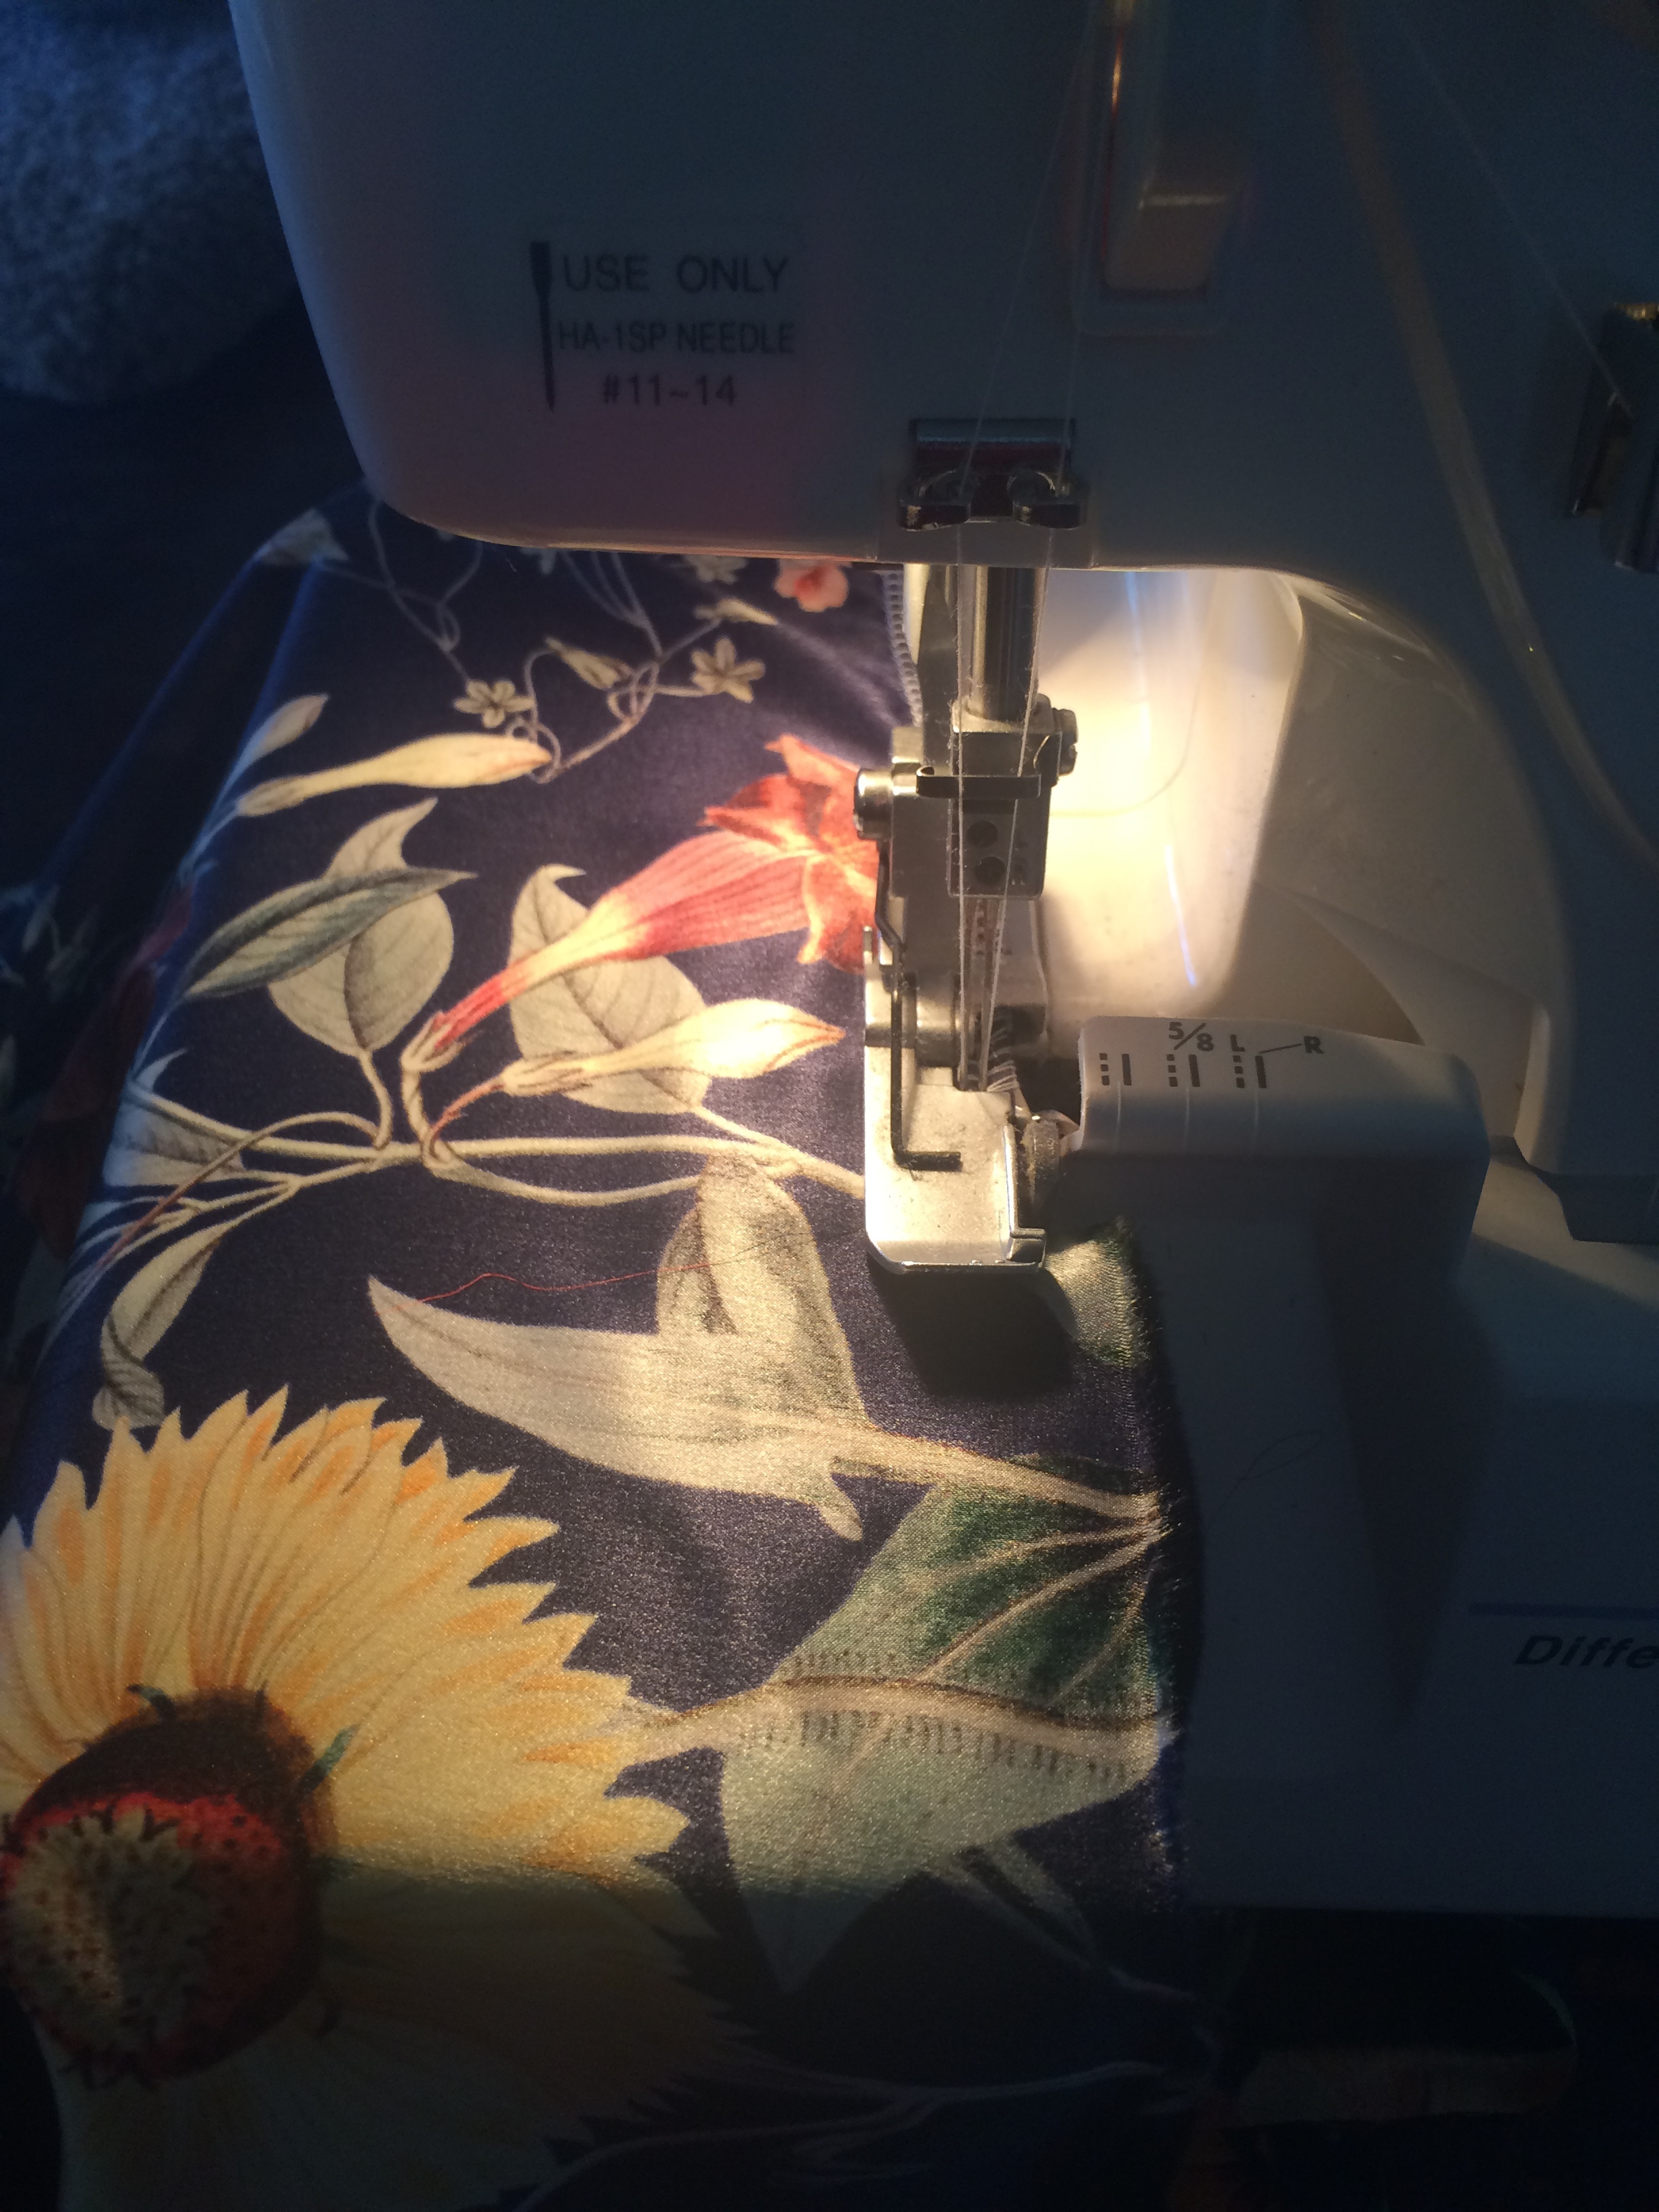
Your next step is to fold your piece of fabric in half and lay your instrument on top. Use the instrument as a guide to trim and round off the bottom of the bag (see picture). I used a serger machine to construct my bag. In the past I have used zigzag stitches or a french seam. Whatever method you choose, make sure that your seams are on the outside of the bag so that your instrument is not rubbing against a rough seam.
First, i ran my serger along the top of the bag with the fabric open (please unfold it from the cutting stage!). I also used the serger to stitch a little ways down each side of the fabric from the top. This gives me a polished edge for the drawstring sleeve. Once I had prepared the edges with the serger I took my bag over to my featherweight machine and created the drawstring sleeve. To do this I folded the top of the bag over twice to create a sleeve. I then stitched along the edge.
Now that you have completed your drawstring sleeve at the top of the bag it is time to fold your fabric in half (like you did in the cutting stage). Take your bag back to the serger and stitch from just below the drawstring sleeve all the way around the bag until you reach the folded edge. Make sure that you stitch your bag together so that the smoothest side of fabric is on the inside of the bag with the seams on the outside.

Now take your ribbon and feed it through the drawstring sleeve. You may find it helpful to use a safety pin attached to the ribbon to feed it through more easily. Cut your ribbon at an angle and tie the two ends together.

Now you have a lovely violin bag to greet you each time your open your case, or a lovely gift to give to the violinist in your life!

We’d love to see pictures of your cozy little violin bags! Email pictures to us at happysquirrelquilts@gmail.com or tag us on social media!